How To Build A Chicken Run
Having a proper chicken run is important for your chickens’ health, protection and happiness, acting to keep the chickens inside and predators outside while allowing the chickens to roam outdoors. Building your own can be one of the many fulfilling parts of getting chickens, especially if you’re into do-it-yourself projects.
How should I build my chicken run? Start with a design in mind, asking yourself how large an area the run shall be, whether it will be roofed or not, how the door will be built, how tall it will be, and what materials will be used. Build out the frame first, followed by the door and fencing.
Of course, there are plenty of methods to build a chicken run. They vary wildly in size, general design, material, necessary tools and skills, and effectiveness. I’ll be sharing how I built ours in hopes of inspiring you to build yours, but this is by no means the only—or even the best—way to do it, just our way!
Disclaimer: This article includes affiliate links. If you click one of them, we may receive a small percentage of the sale at no extra cost to you. Thank you for your support!
How Big Does A Chicken Run Need To Be?
There are a lot of different numbers thrown around as to how much area a run should have per chicken. Some say at least 10 ft2 per chicken while others state at least 5, 4 or even 3 ft2 per chicken.
In theory, the more space you can afford for the run, the better. Additionally, if we are to base our dimensions on a per-chicken basis, we also need to take into account the size of the chickens themselves (bantams require less space than large breeds, for example).
Another variable to consider is whether you’ll be allowing your chickens to free-range or not. If you’re able to let your birds roam free the majority of the time, then a proper run may not even be required. The more time they can be let free, the less need for a massive run.
Furthermore, if their coop is only big enough for sleeping and laying, then a properly sized run is all the more important, as the flock will need this space for everything else.
In our case, where we’re still small-scale and working full time, I decided to build an 8′ x 8′ run (64 ft2), which can easily accommodate 16 chickens at 4 ft2 per chicken. We also have an 8′ x 11′ coop inside our workshed, so our flock has plenty of space.
When we’re outside working, we allow our flock to free range so that we can keep an eye on them and any predators that may be lurking. We live fairly deep in the woods, and so there are plenty of coyotes, bobcats and hawks around, waiting for an opportunity.
In terms of height, we want the run to be tall enough so that the chickens won’t be able to escape easily, at the very least. In our case, I built the run tall enough to have a roof and have us still be able to walk around inside without ducking.
Does A Chicken Run Need A Roof?
While you can make a chicken run without a roof, we do not advise it. A roof is there to protect your chickens from predators (aerial and otherwise — many predators are good jumpers and climbers) and the elements.
We opted for tin roofing largely because one of our friends had some extra materials lying around. It’s a sturdy material that keeps the run dry and safe for our birds. This material has the benefit of shading a good portion of the run throughout the day. Ideally, we want partial shade within the run and the opaque tin roof gives us that shade.
Where Should You Build Your Chicken Run?
The location of your chicken run should be carefully considered, as it is as important as the overall design and build. The run should be connected to the coop. This allows your flock easy access between the two and should be priority number one for simplifying your setup.
Assuming the two are attached, we may then consider the location of both the coop and the run. Do your best to optimize for the following:
Relative positioning within the area
This one may be obvious, but we want the run to be located in an ideal spot on our property. We want it out of the way of areas and paths we need for other things. Don’t put your run in front of entrances/exits, up to/into your neighbour’s property, or anywhere else that goes against common sense.
Sunlight and shade
Chickens need both sunlight and shade throughout the day. Sunlight is important for their health and well-being, while shade provides necessary relief from the heat, especially in warmer climates. Choose a location that gets a good balance of both throughout the day.
Protection from predators
Safety is paramount. Your chicken run should be in a location that can be secured against common predators such as foxes, raccoons, and birds of prey. Consider positioning the run away from wooded areas where predators can hide.
Accessibility
Think about your own access to the run in all weather conditions. You’ll need to visit the run daily, so consider how easy it is to get to from your house, especially in bad weather. The run should be conveniently located to simplify tasks like feeding, cleaning, and egg collection.
Drainage
Good drainage is another factor to consider. This is to prevent the run from becoming muddy and unhealthy. Avoid low-lying areas that collect water. If necessary, you may need to landscape slightly to ensure water runs off and away from the run area.
Ventilation
While the run will be outdoors and thus well-ventilated, consider the airflow and wind patterns in your yard. Placing the run in an area that gets a gentle breeze can help keep the air fresh and reduce odours, but avoid areas with strong, constant winds that could stress the chickens and great large drafts.
Space
Ensure there is enough space for the number of chickens you plan to keep. Chickens need room to roam, forage, and express natural behaviours. Overcrowding can lead to stress, disease, and behavioural issues.
Future expansion
Consider whether you might want to expand the run or flock in the future. Choosing a location that allows for expansion can save you a lot of time and effort later on.
View
If you enjoy watching your chickens, you might want to place the run where it can be easily seen from your house or garden.
What Supplies You’ll Need
As with any creative project, there are plenty of ways to achieve your goal.
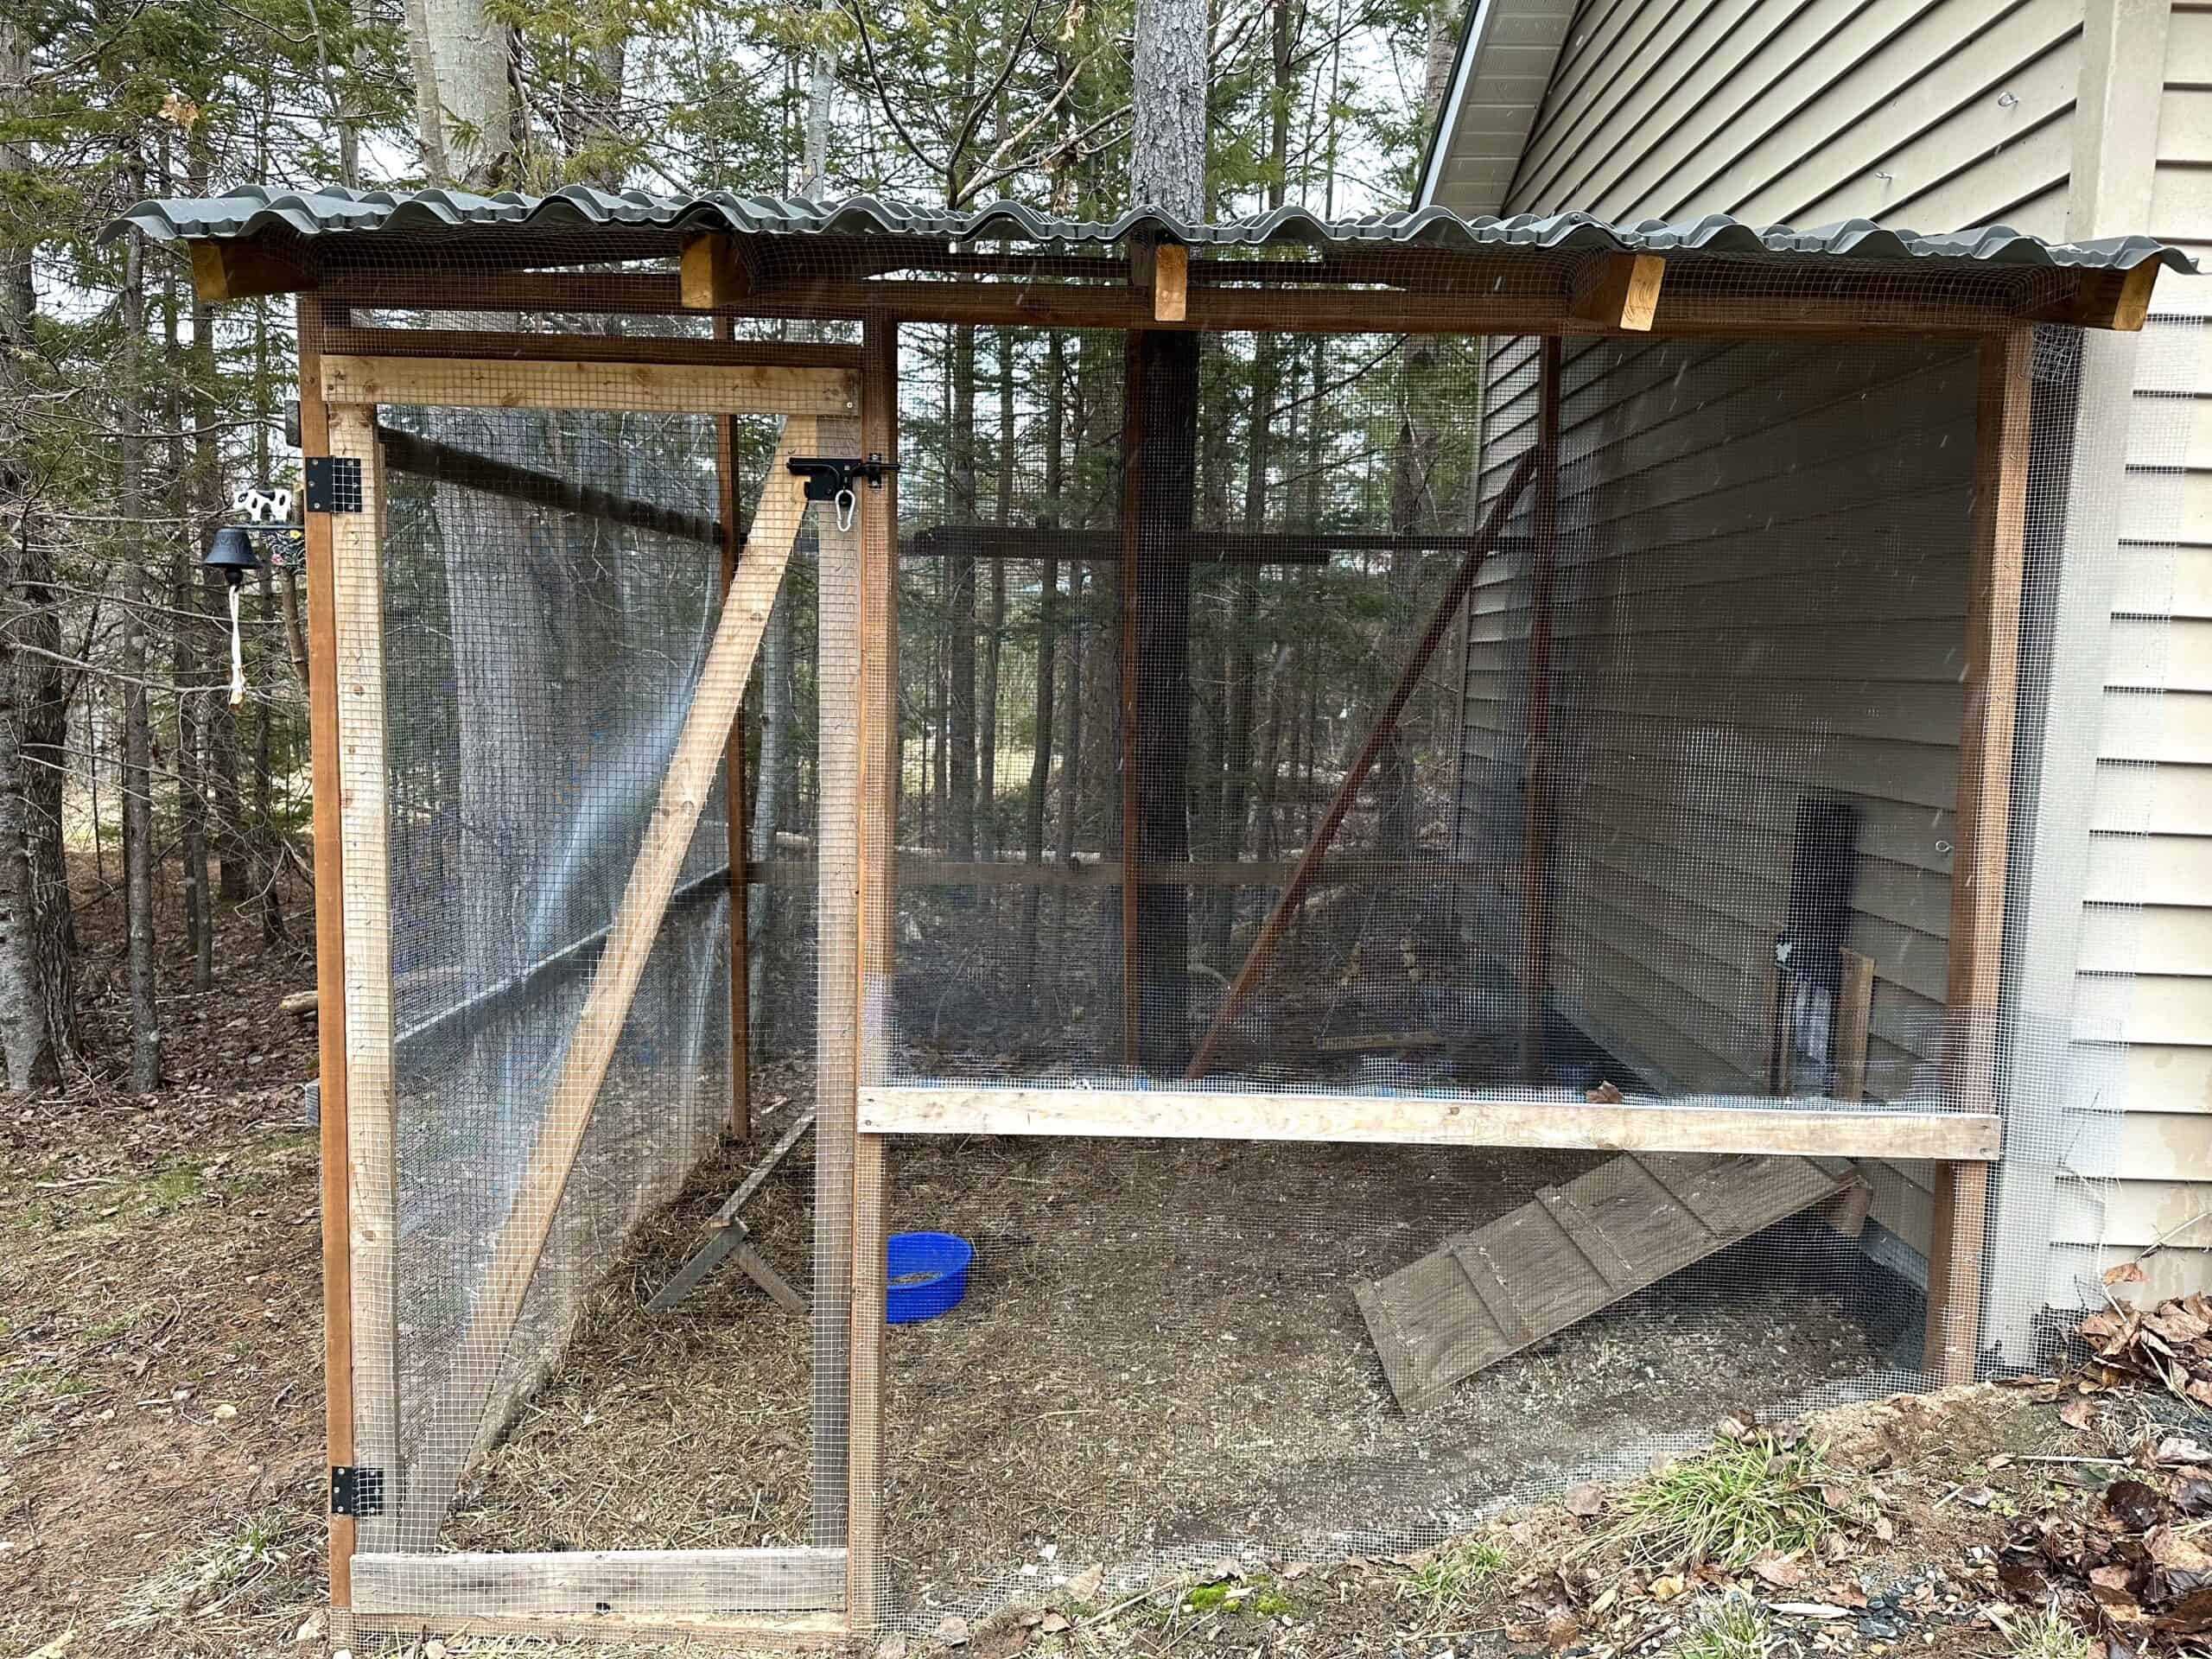
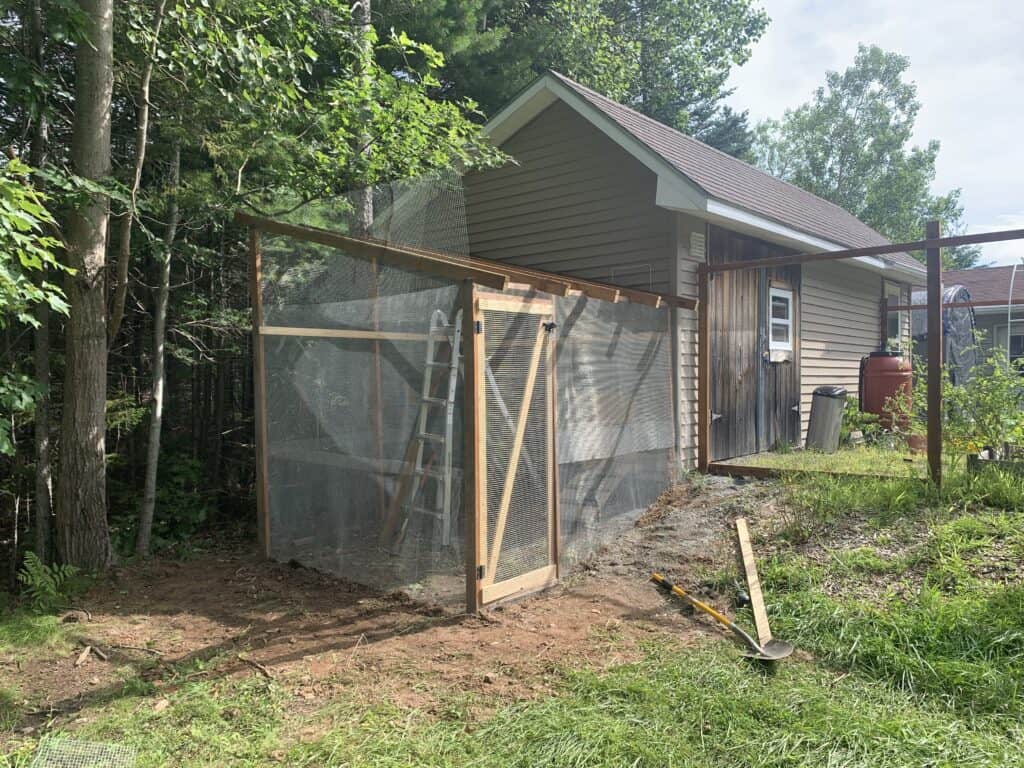
I built a simple 8×8 run attached to the west side of the chicken coop (where the chicken door leads). The roof is slanted, allowing snow to slide off in the winter, and the height of the run is sufficient for us to stand up straight whenever we’re inside.
If you’ve made it this far into the article, I assume you’re interested in following (or at least reading) my plans, so here’s what I used (I’ll add links to the supplies/tools I used). I’ll also comment on what I would use instead, having now completed the project.
- 8 – 2×4 x 10′ (treated)
- 6 – 2×4 x 8′ (treated)
- 10 – 1×3 x 8′
- Ladder
- 2 hinges
- 1 latch
- 1 carabiner
- Wood screws (#8 – 1 1/4″, 2″ and 3″)
- Power drill with appropriate driver and drill bits
- Level
- Mitre saw
- Circular saw
- Tape measure
- Pencil
- Fencing staples
- Shovel (I used a round-point digging shovel, though a trenching shovel may have worked better)
- 4′ x 100′ – 1/4″ hardware cloth
- 4′ x 100′ – 1/2″ hardware cloth
- Work gloves
- Pick axe
- Bell (optional)
- 6 sheets of tin roofing (32″ x 97″)
- Roofing screws (#10 – 1 1/4″)
Alright, with those materials ready, let’s get into building the chicken run!
How To Build A Chicken Run
Before we get into it, let me reiterate that this is how I built my first chicken run. It’s not the only way to do it.
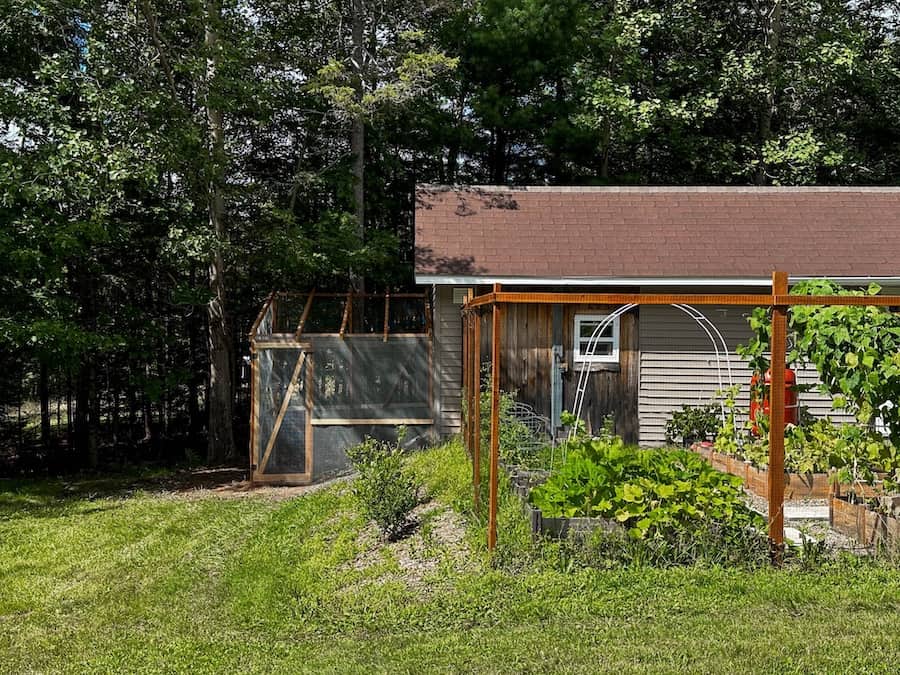
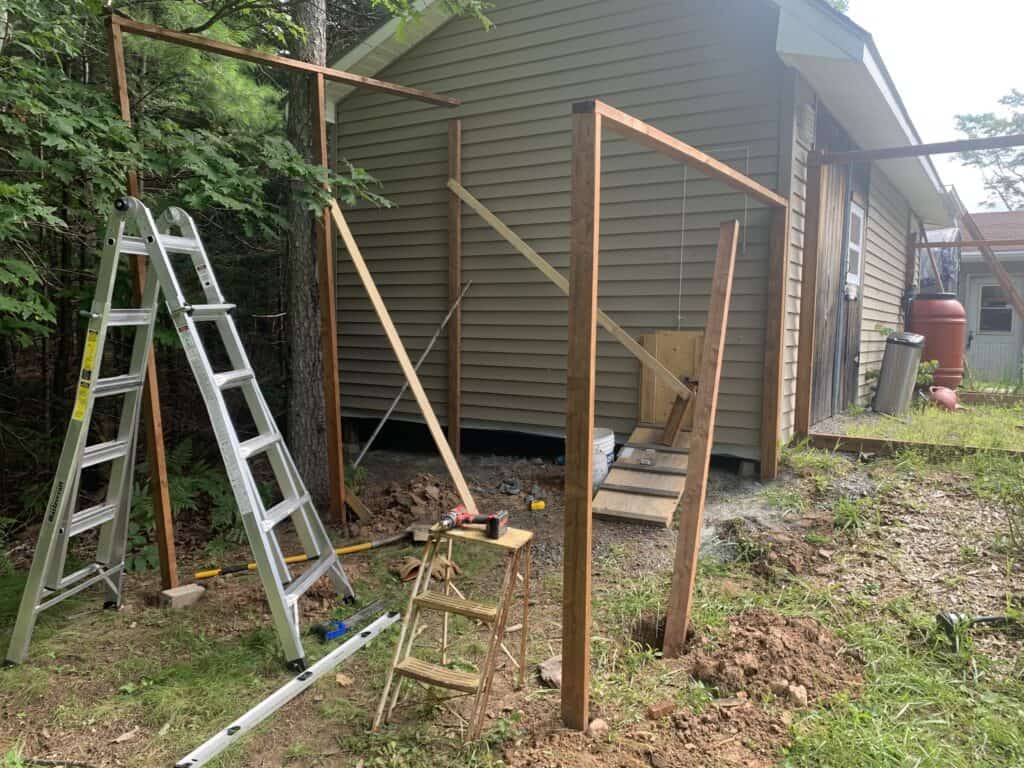
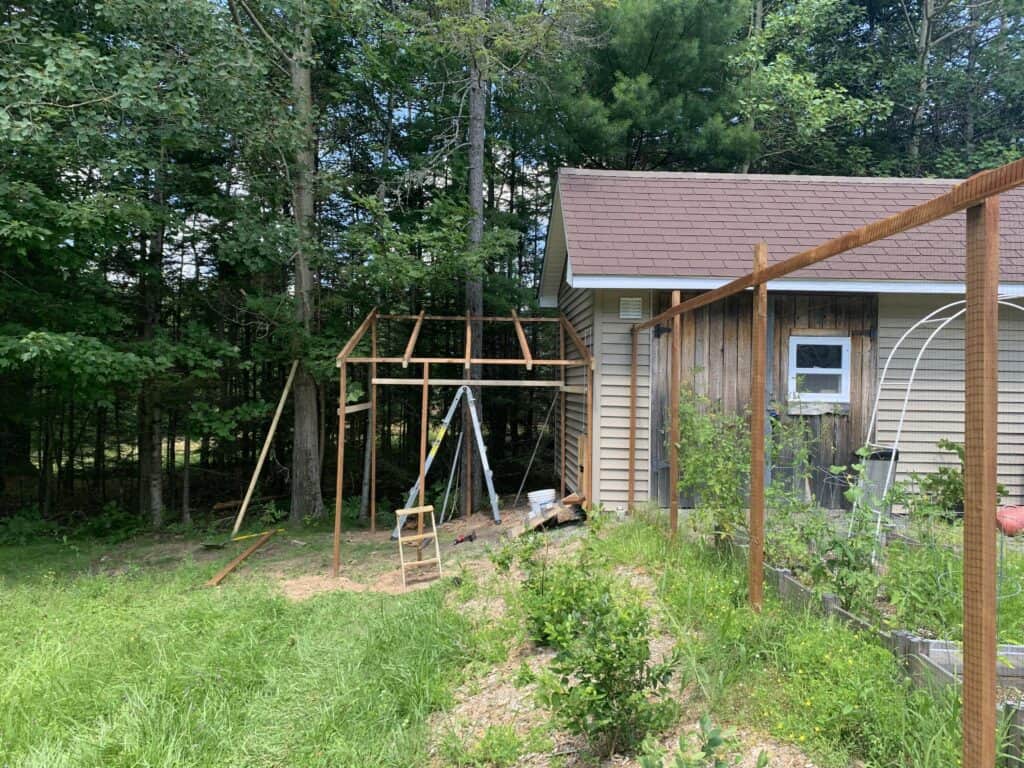
To start, we wanted the chicken run built to match the garden, which meant treated 2×4 posts put directly into the ground. Here’s a photo of the garden before the run was built, for reference:

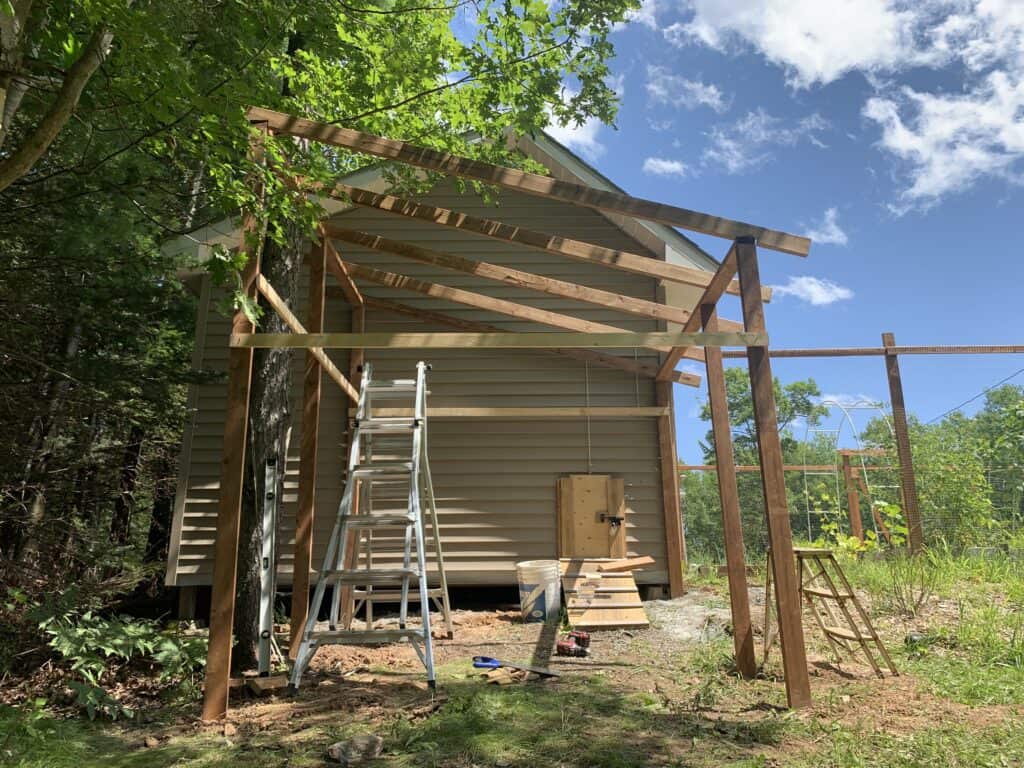
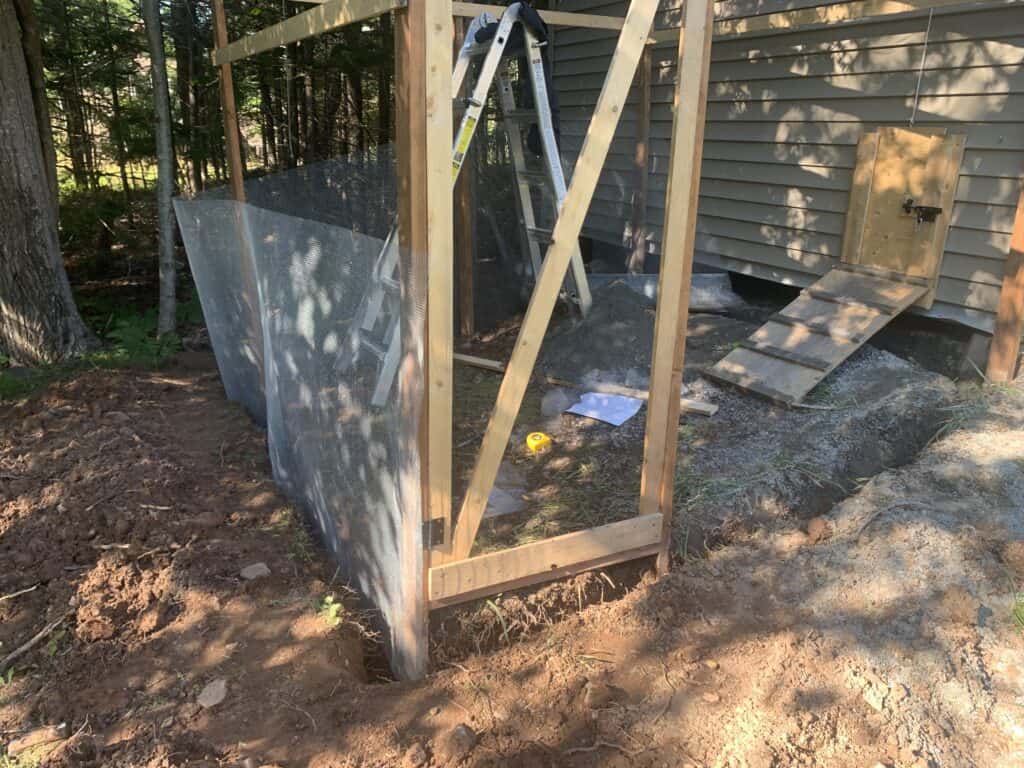
I wanted an 8’x8′ roofed area with fencing trenched underground all the way to the roof. The front wall would be 6.5′ tall (at the door, which would be at the bottom of the natural slope of the ground) and the back would be 8′ tall, giving a 2/12 pitch for the roof, which would have an overhang.
The walls would be built with 2×4 posts and beams running perpendicular to the exterior wall of the workshop.
The rafters would be 2′ on-center running parallel to the exterior wall of the workshop.
The door would be framed at the “front” wall of the run, at the bottom of the slope, and would be 29 3/4″ wide and 73 3/4″ with a diagonal brace transferring load toward the hinges (much like the garden door pictured above).
The hardware cloth would be trenched at least a foot deep around the entire perimeter (including the exterior wall of the workshop), and run all the way up to the tin roof.
As always, I drew up a plan before I got started, as a guide to ensure I:
- Had all the necessary materials
- Had a design that made sense
- Knew what measurements to act upon
- Knew the next steps throughout the process
Much like the garden, which is attached to the workshed, one of the “walls” of the chicken run would be the exterior of the workshed. The coop is actually on the far side of the building (from the picture above), and the chicken door is cut on the far side wall.
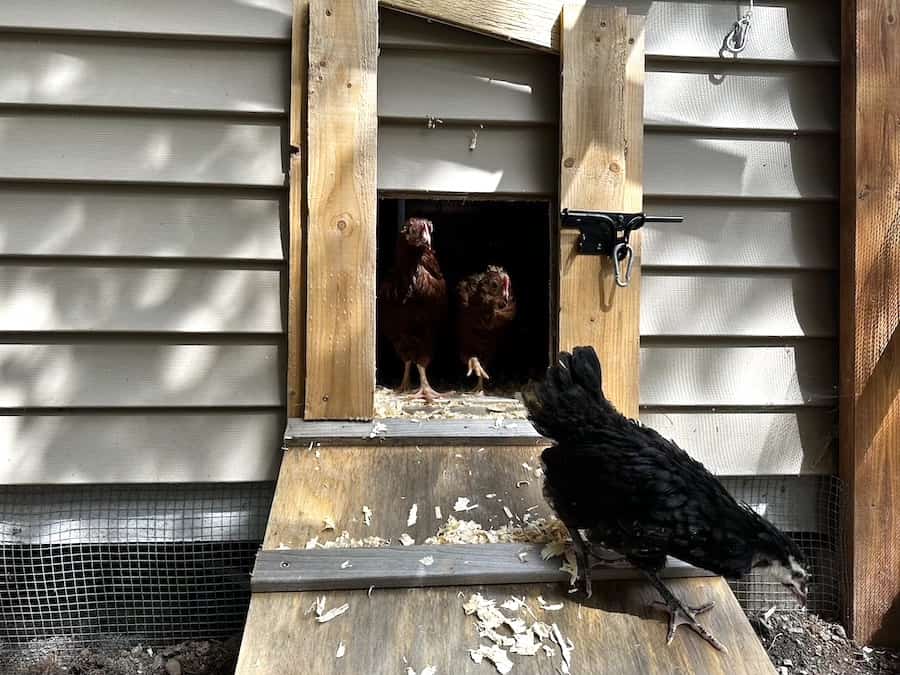
Here’s a picture of our first manual chicken door (which we’ve since replaced with the Run-Chicken automatic door):
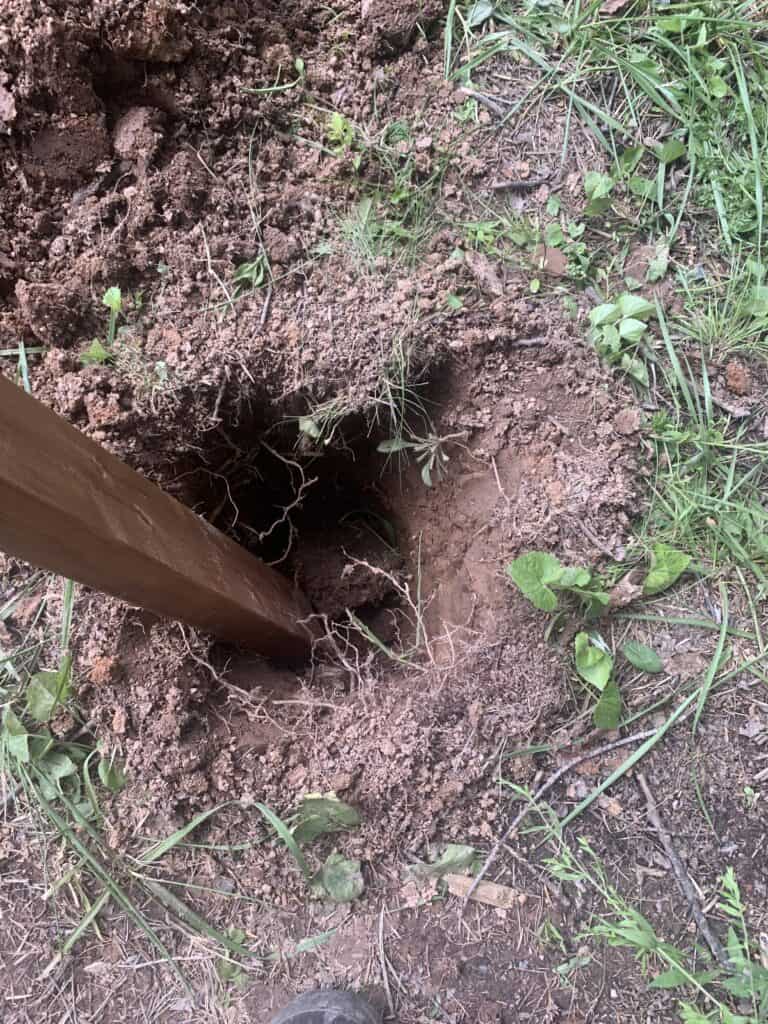
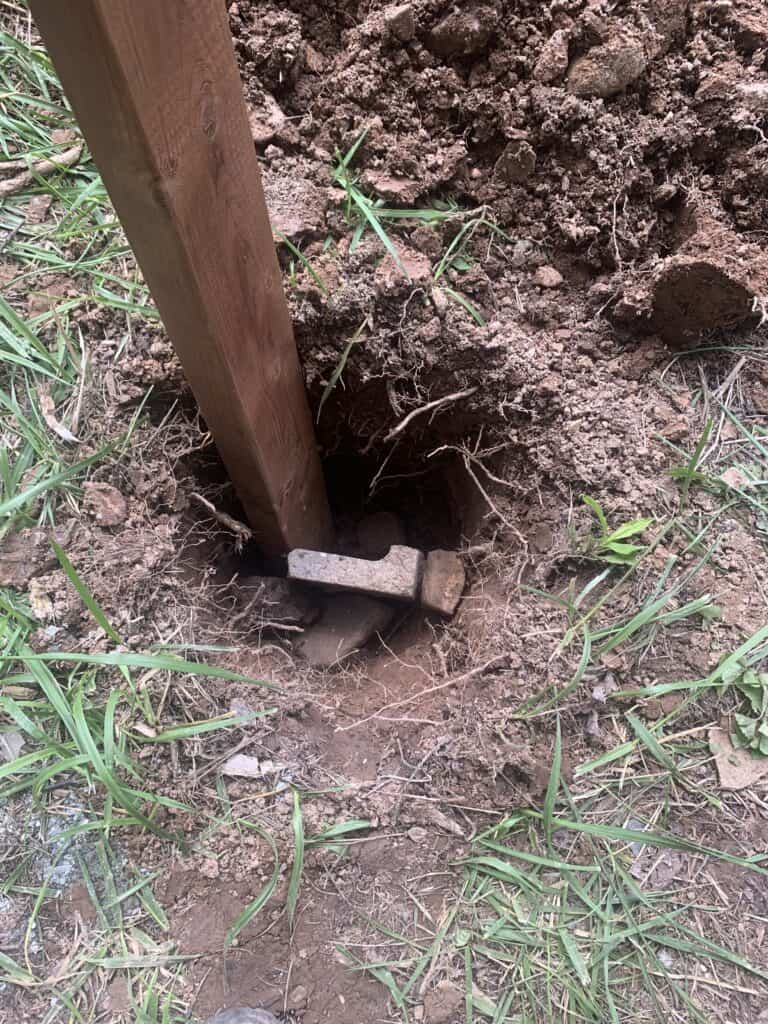
I started by digging the post holes with my shovel. The ground level is uneven, so I avoided making any cuts to my 2×4 posts until they were firmly in the ground. Our natural soil is rich in clay and there are plenty of big rocks. Additionally, there are plenty of roots in the area since the run was built next to a small wooded area that separates our yard from our neighbours. Therefore, I gave myself some leeway as to how deep and spread the holes would be, so long as they allowed for the 8’x8′ run.
I dug holes next to the exterior wall of the workshed, making sure not to disrupt the footings in doing so. I then dug two more holes at four feet each for the back wall of the run, and then a hole at 6′ and 8′ for the near wall of the run (from the exterior of the workshed).
With the ground sloping downward away from the workshed, I did my best to dig a bit deeper toward the shed. The average hole depth was about 2 feet.
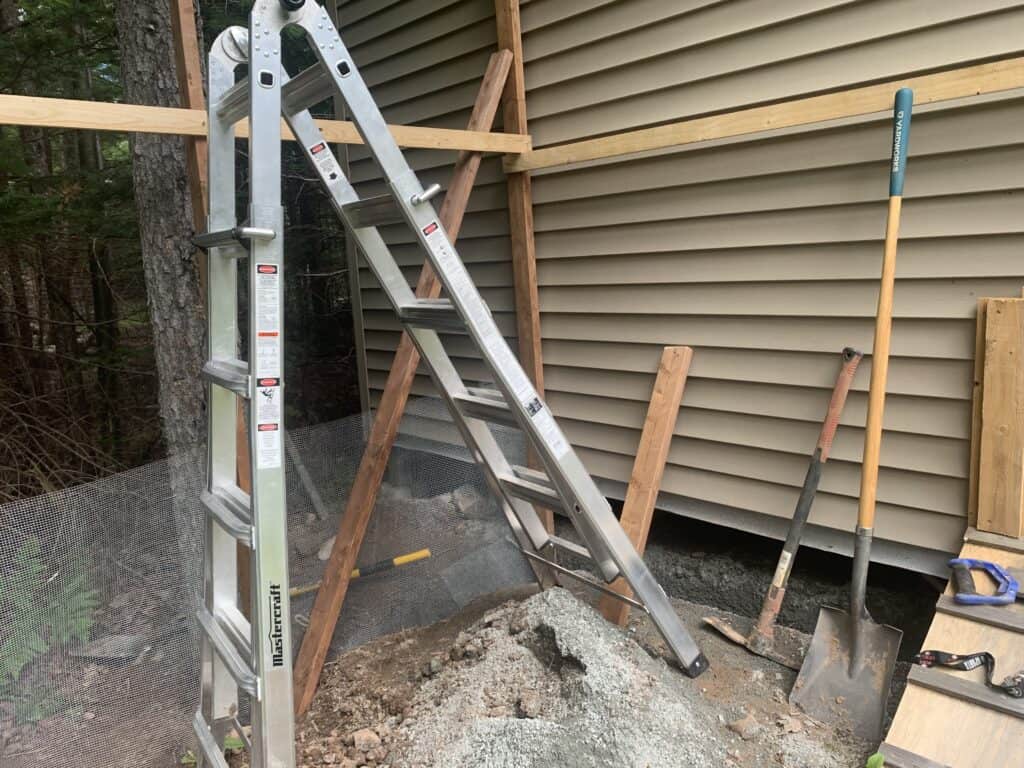
I then, one by one, inserted the posts and levelled them upright to measure my cuts for height. This was a time-consuming but necessary step that required careful positioning and the utilization of the beams and level (and ladder) to ensure the measurements were correct. I got the corner posts done first to make things easy for the centre posts.
I marked my cuts and actually brought the 2x4s to my mitre saw for a clean cut (rather than attempting to cut them with my skill saw while they were positioned horizontally.
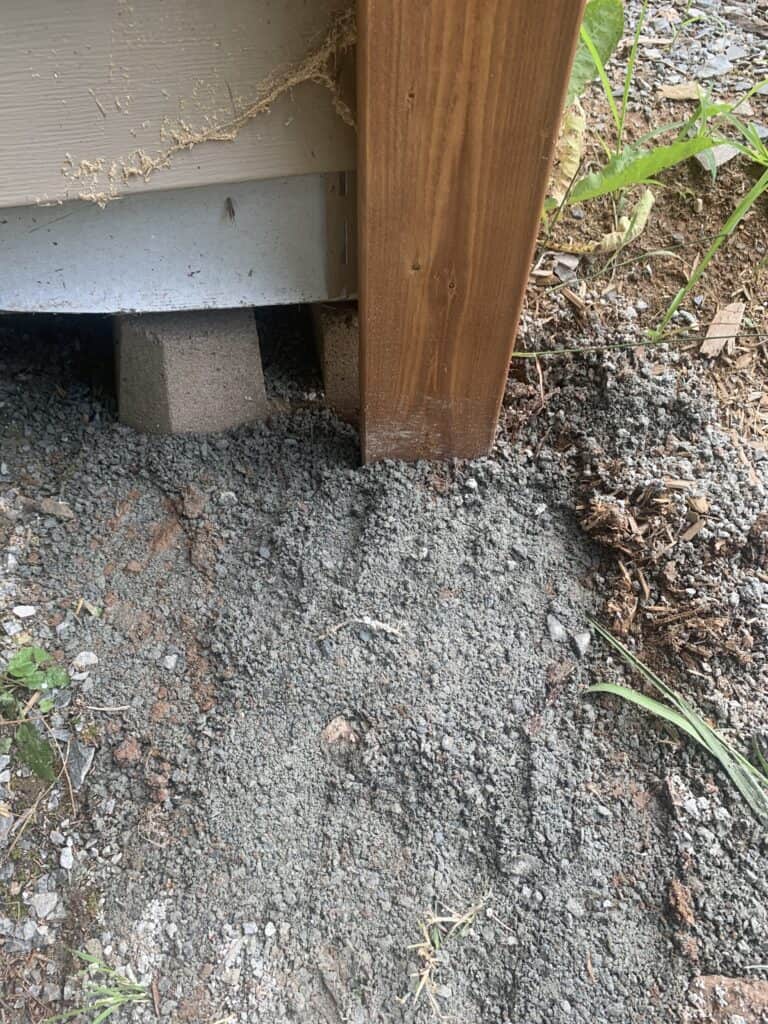
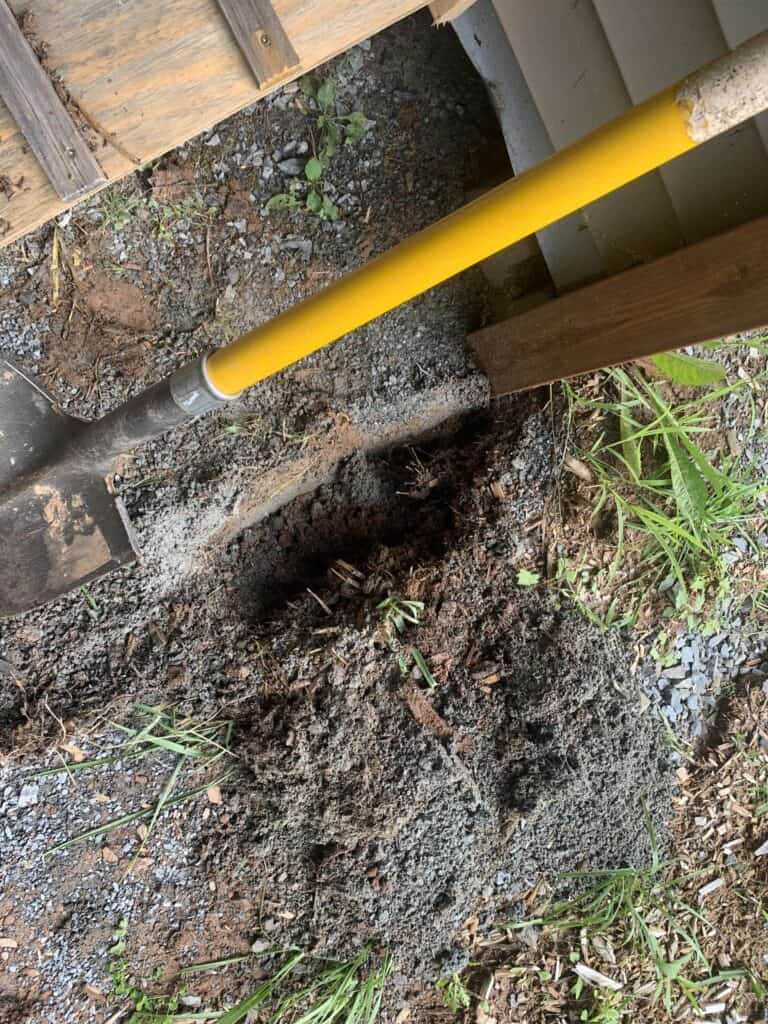
I then screwed in the beams, placed the front and back walls into the ground, and filled the holes with a mixture of rocks and broken cinderblocks (for drainage — the cinderblocks were already broken), and soil.
Here are the holes being dug and filled:
To keep the walls in place as I continued working on the rafters, I tied them together with the strapping (1x3s) I had purchased for the door. These helped keep things in place, and I actually ended up utilizing these pieces in the final build to help keep the structural shape while also anchoring the hardware cloth (though I moved them downward).

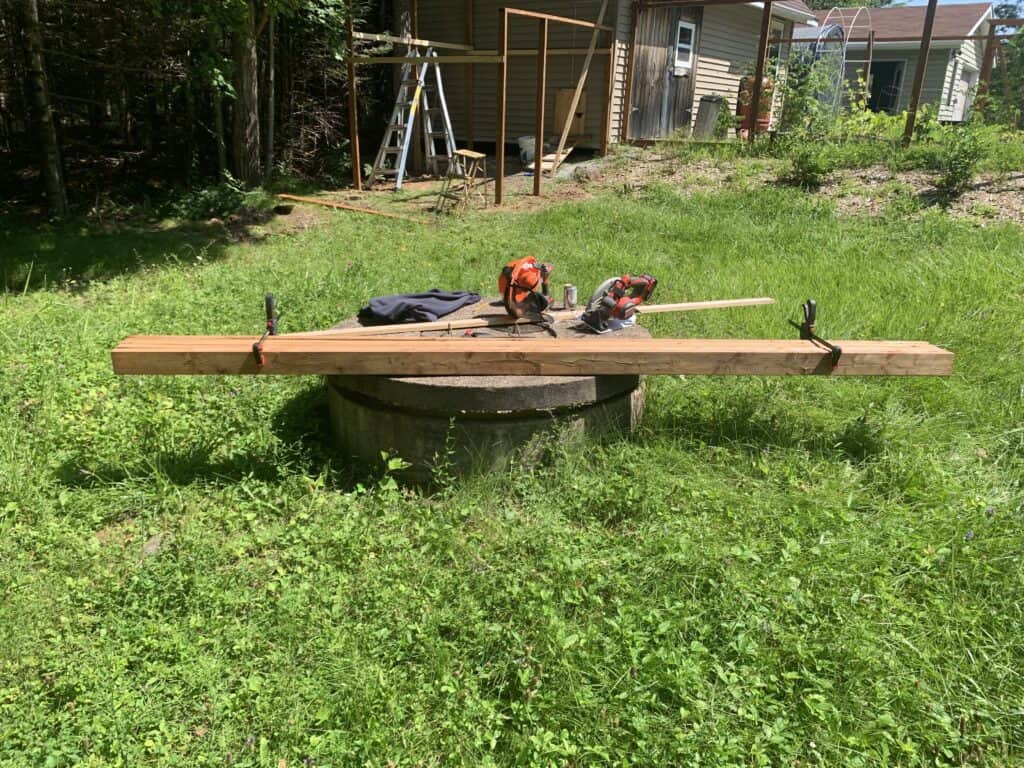
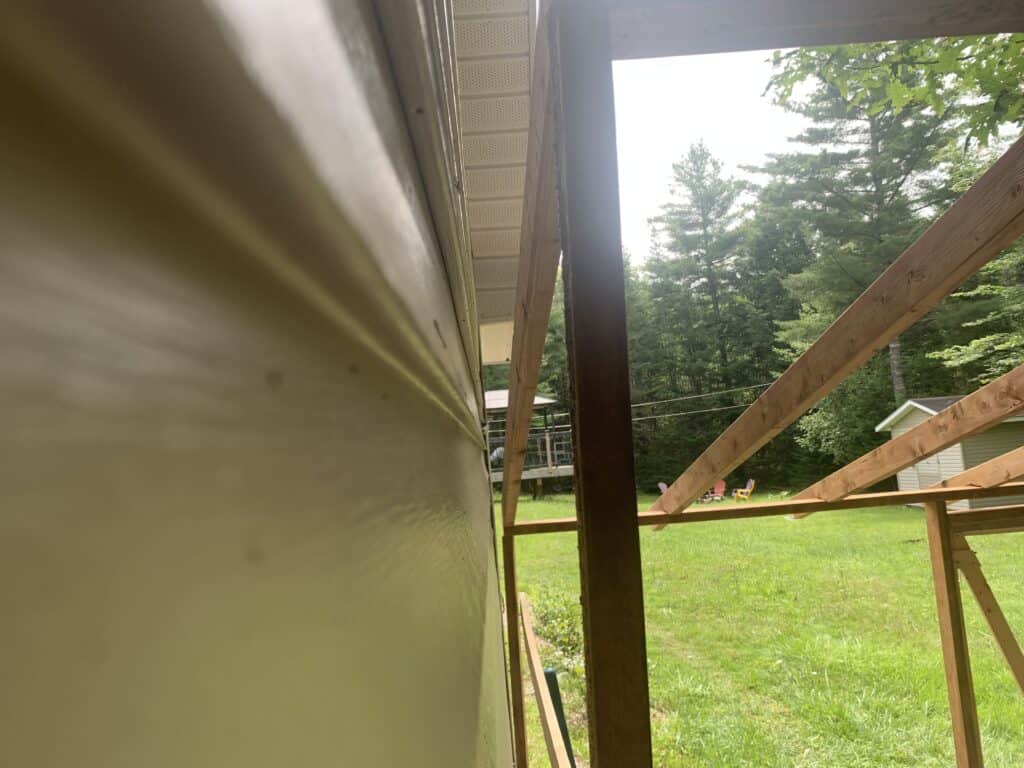
Next up were the rafters. Once again, I utilized treated 2×4 for this purpose (10′ spans, more specifically).
Perhaps it was my training in civil engineering. Perhaps it was my anticipating tying in the tin roof, but I decided to put the rafters 2′ on centre.
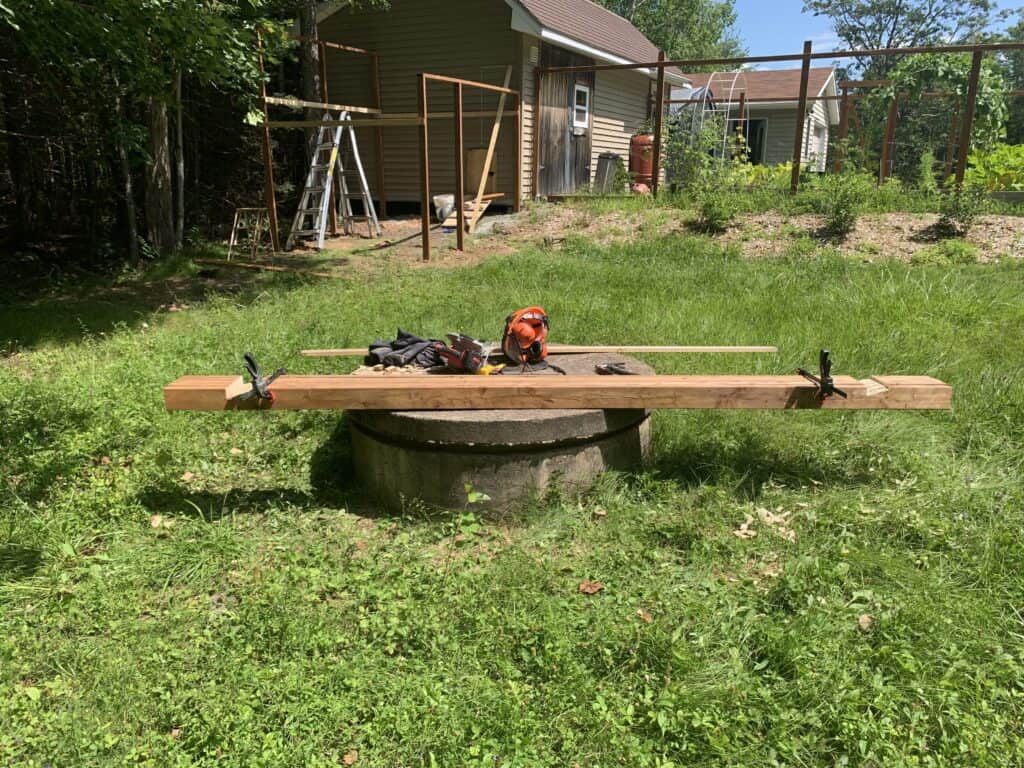
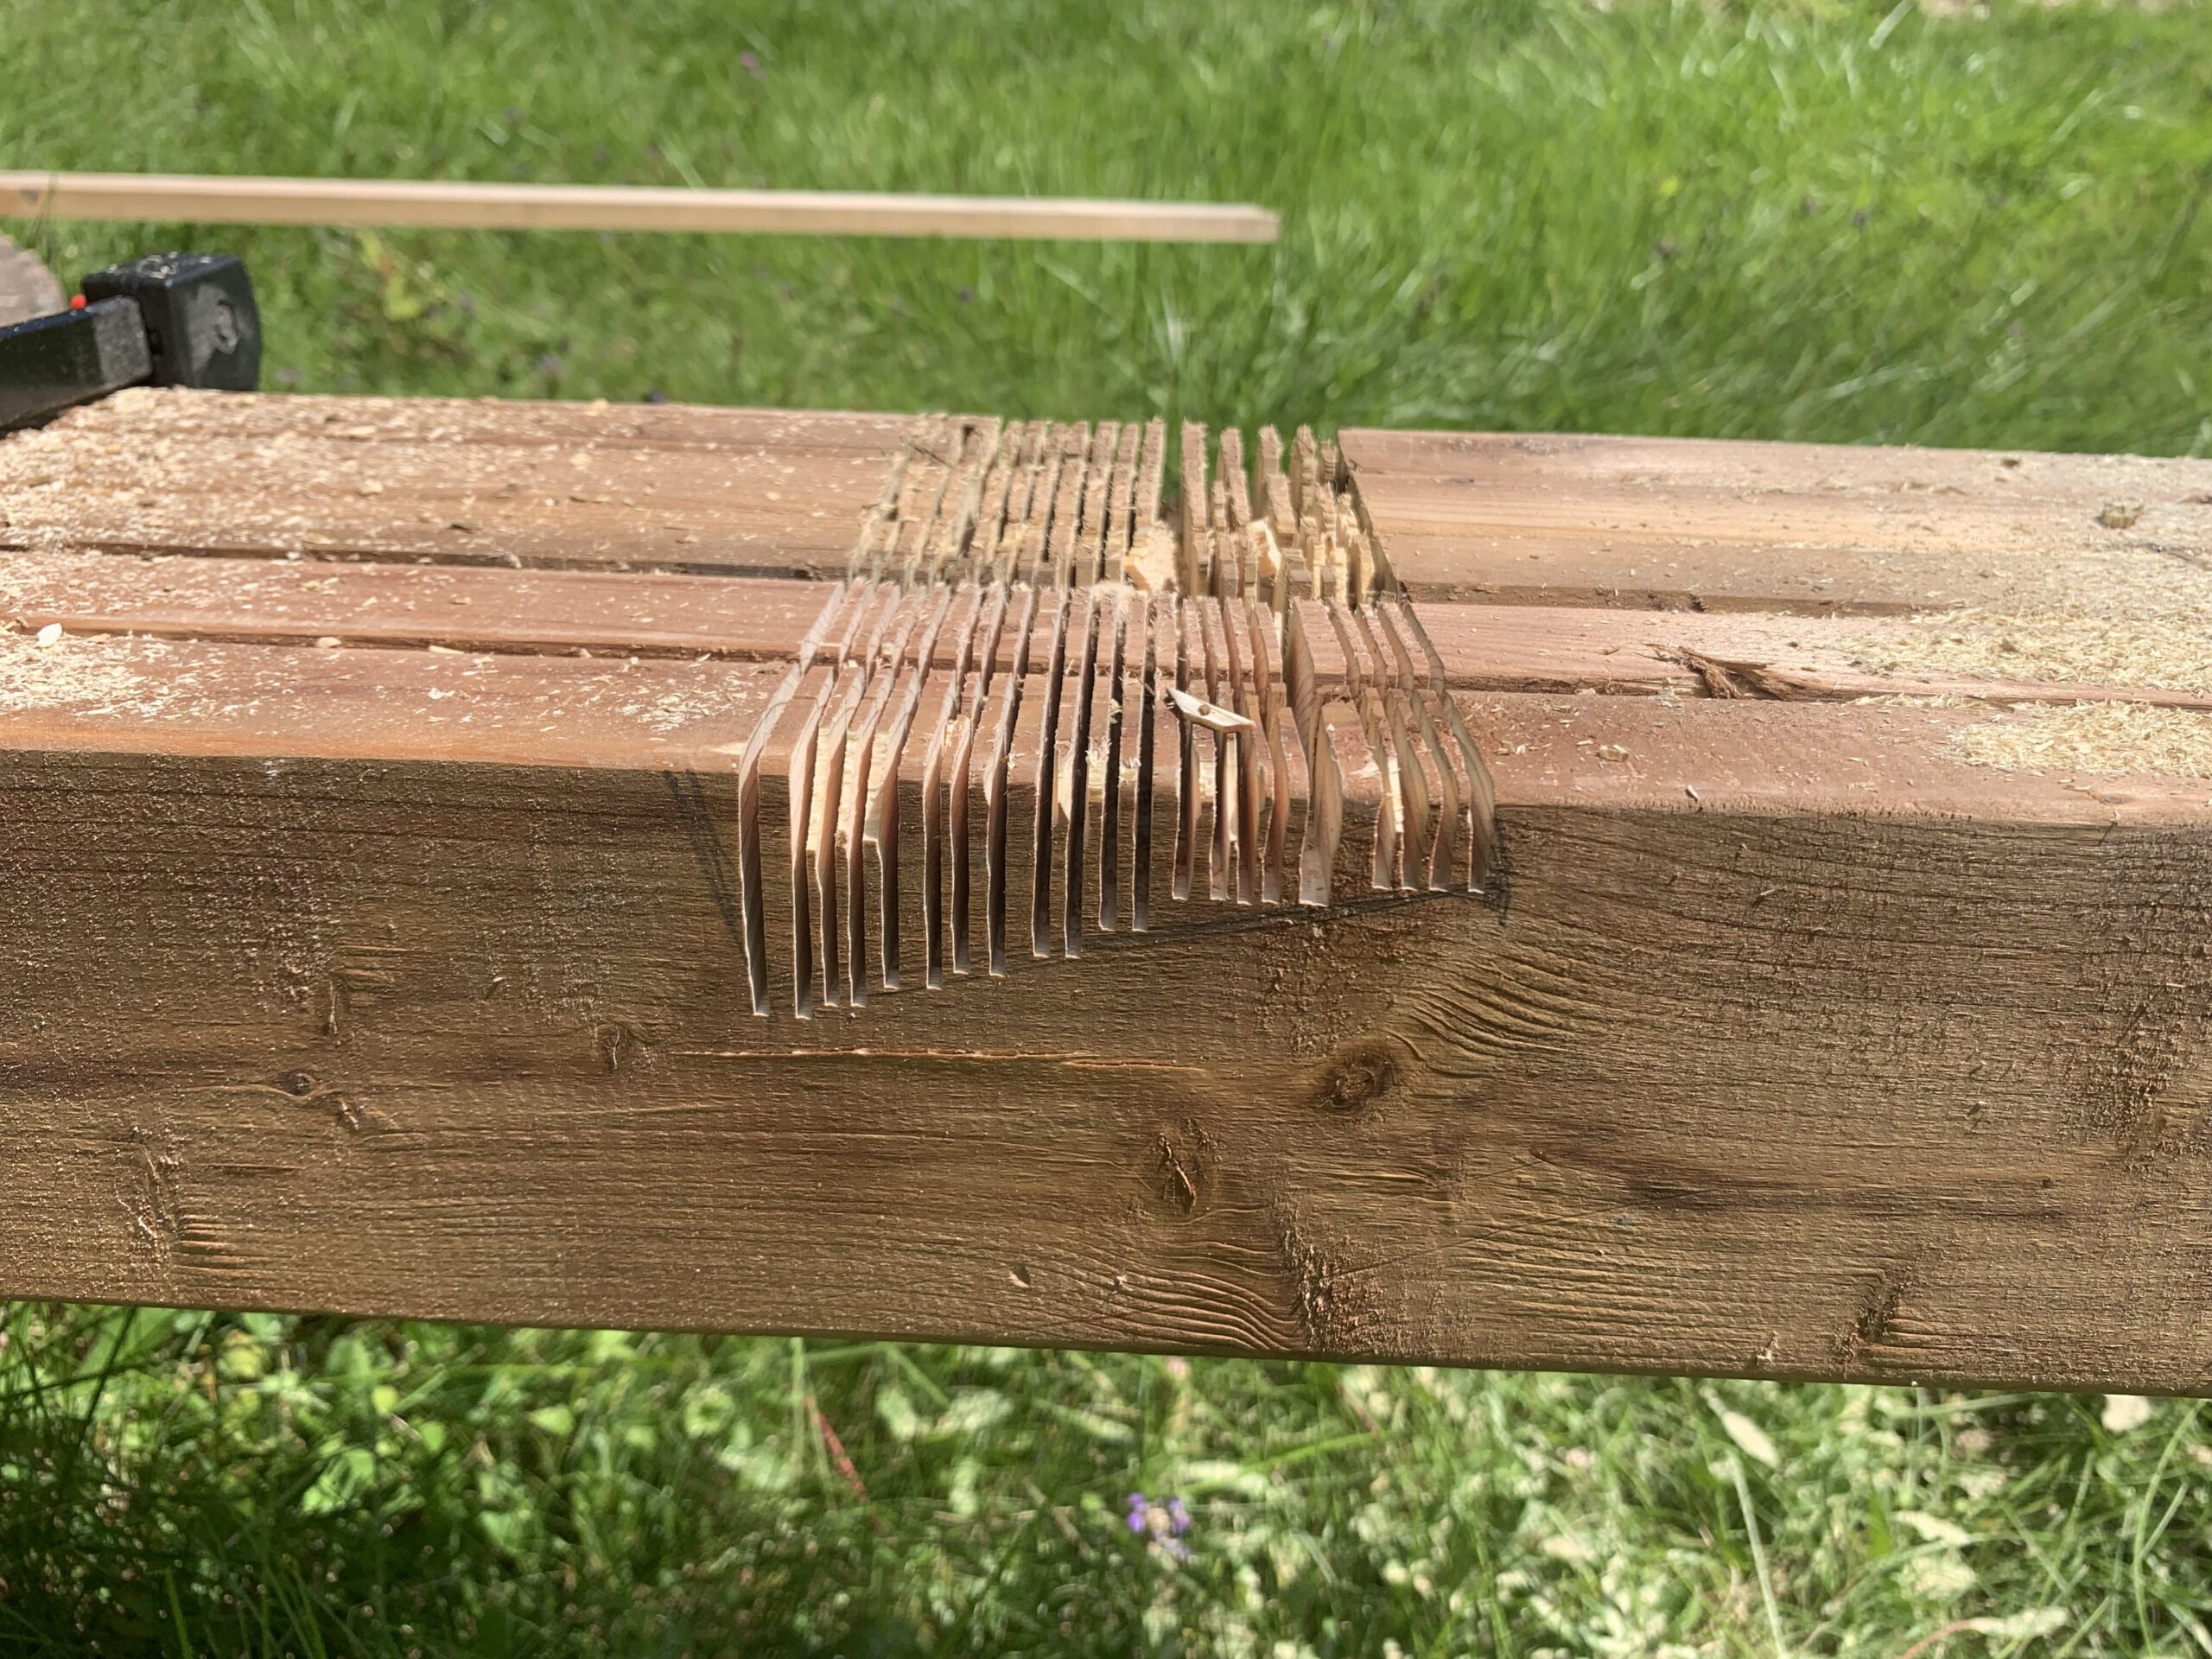
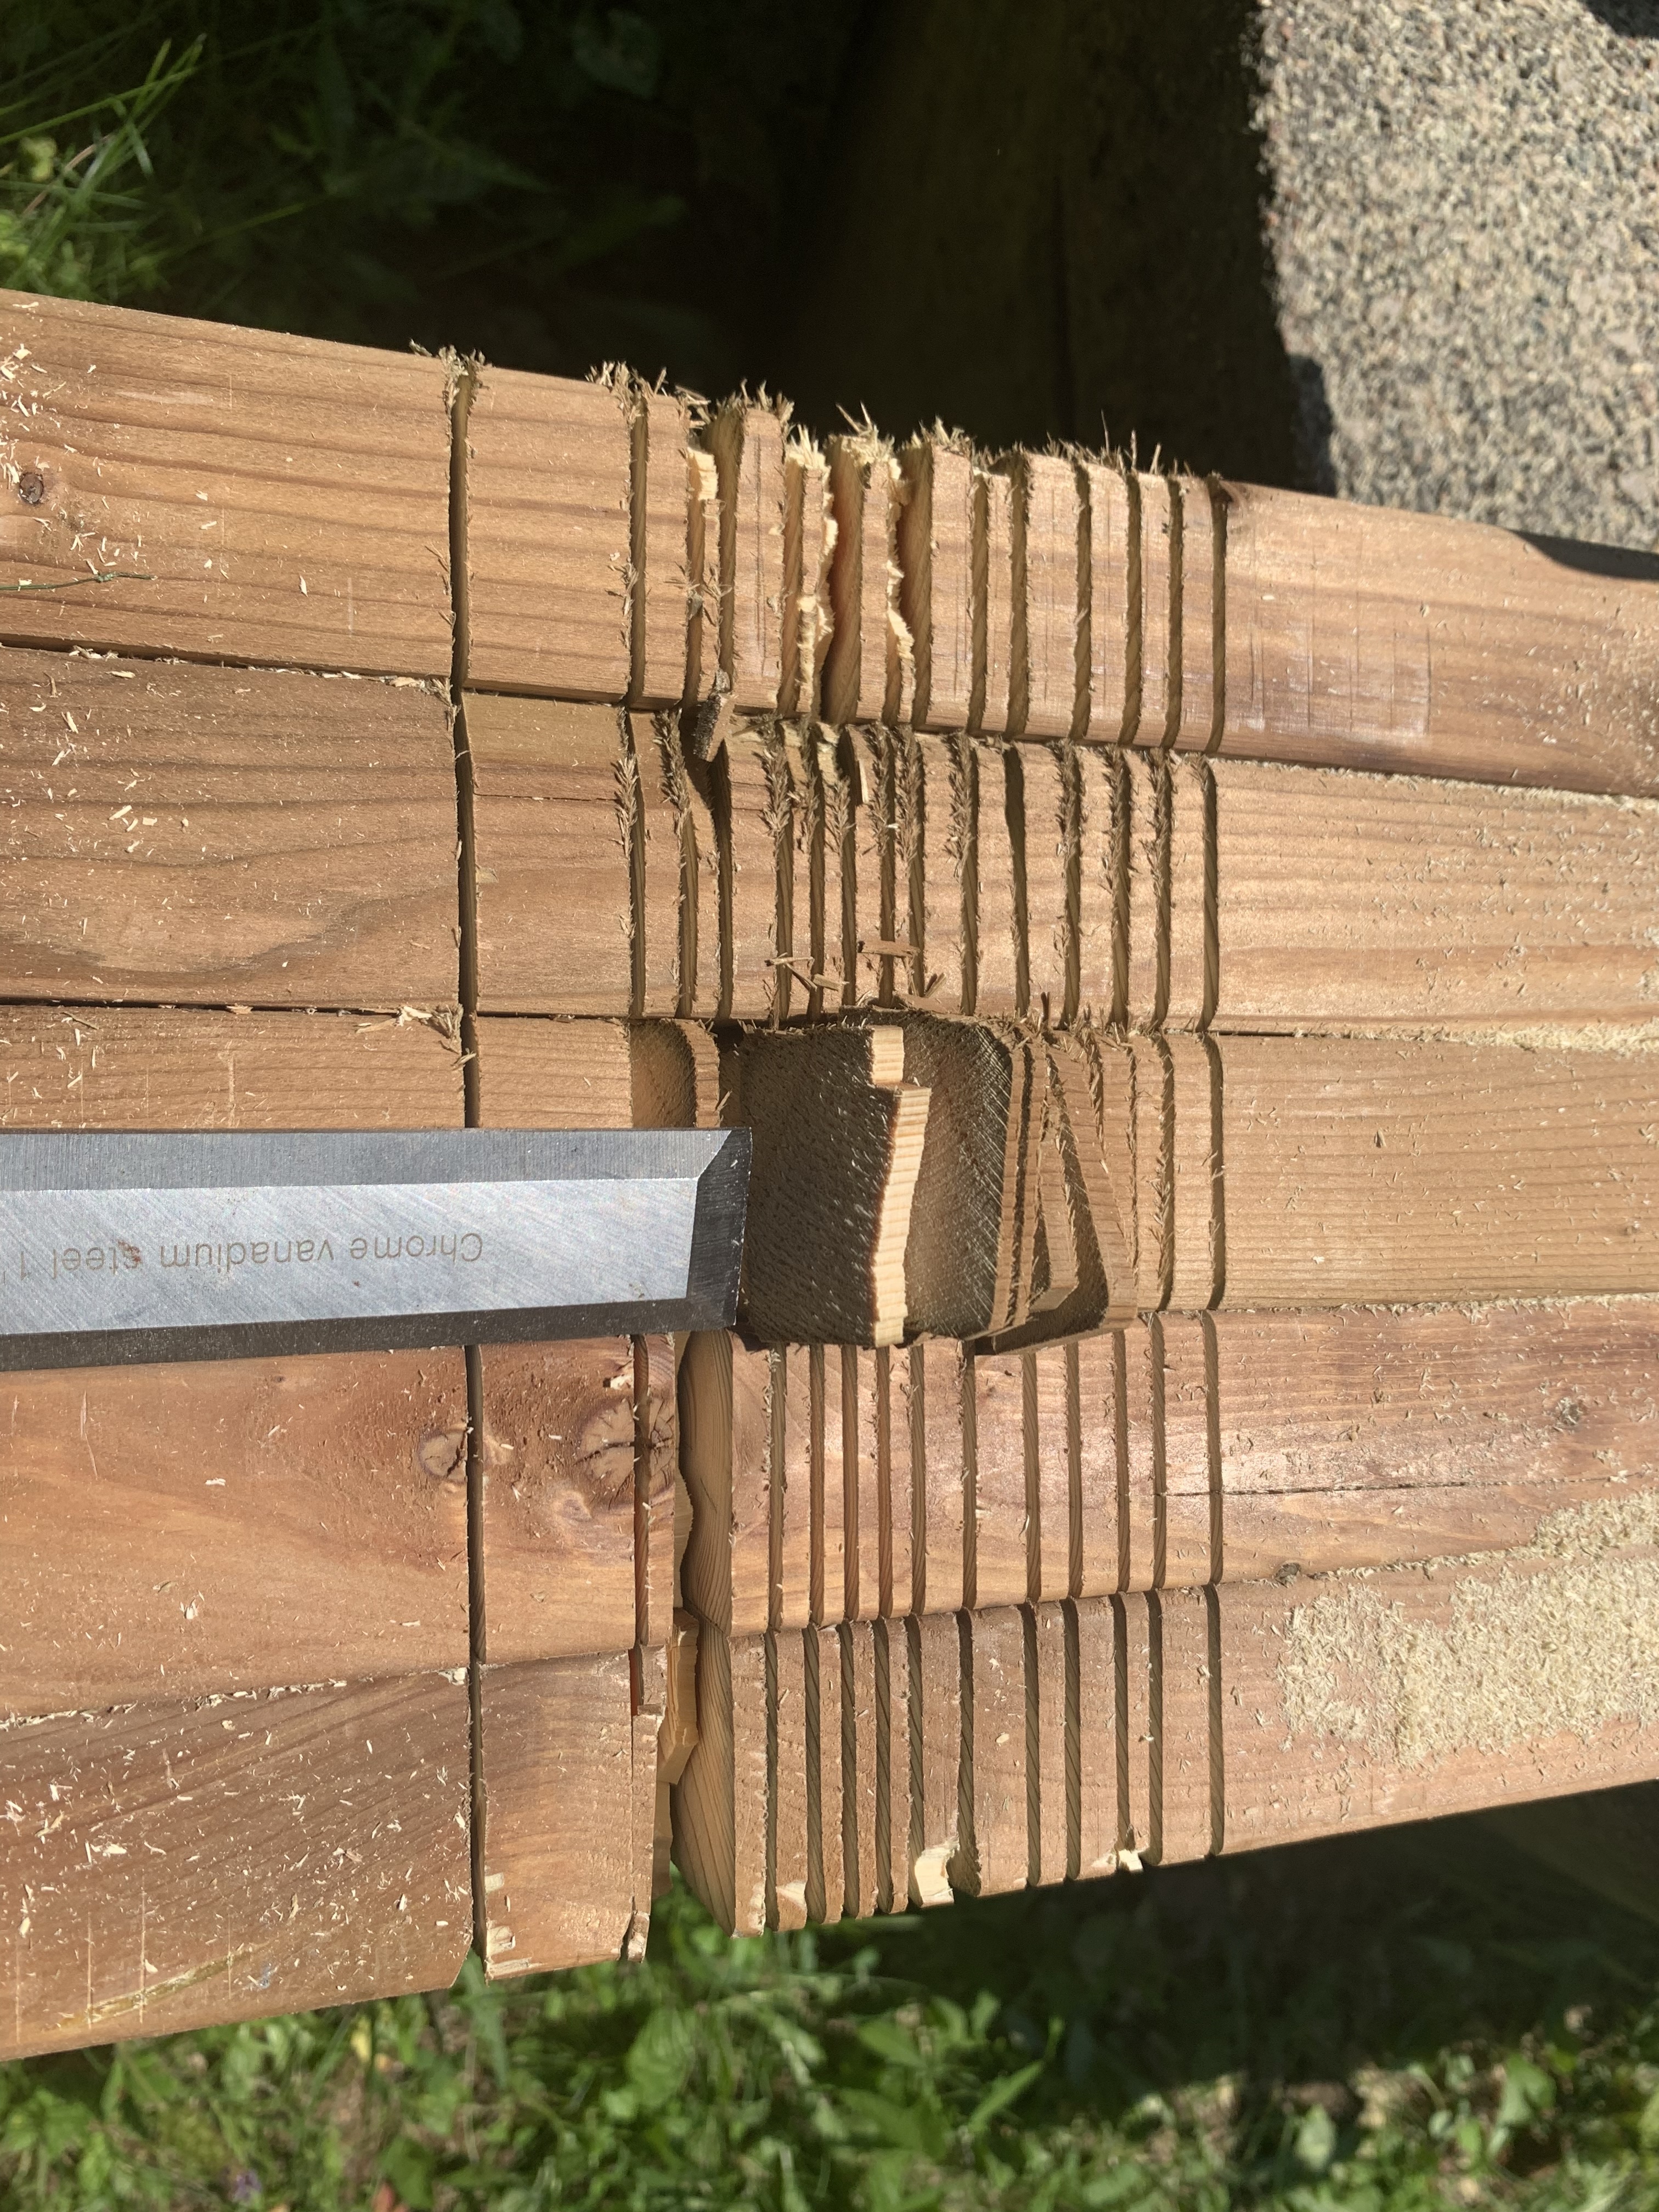
I had seen a neat video where the carpenter made thin cuts with a skill saw and then chiselled the pieces out to create the angled notches of his rafters, so I tried the same (to less success, but it worked nonetheless).
I placed the “gable” rafter at the end and effectively measured equal overhang over the back and the front walls by eye, making my markings of where the beams would be. I then assembled all 5 2x4s that would become rafters, and made my cuts. Here are some pictures of this notching process.
By the way, yes I use my chainsaw helmet when cutting. I find it faster than putting on safety glasses (which fog up) and earmuffs (don’t even get me started about putting in and taking out earplugs).


I then put them into place, made a small cut on the centre one (a tree trunk was in the way), and screwed them all into place.
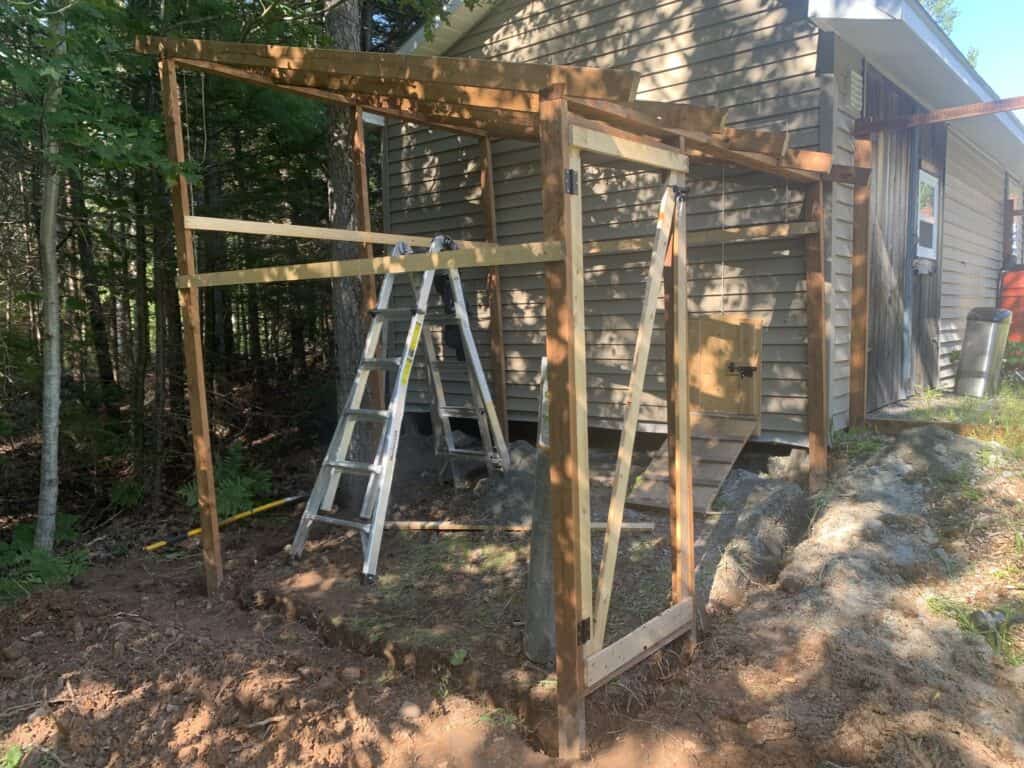
After that, it was time to build the door, which I would make out of new strapping and scrap strapping I had lying around.
I try to make my doors sturdy (hence the diagonal brace transferring load toward the hinged side of the door), while also making them lightweight (hence the strapping and eventual hardware cloth).
In this case, my door dimensions were 29 3/4″ wide and 73 3/4″ tall, so I made the appropriate cuts to make that happen. I’ll explain how I build my doors in a separate article here at Homestead Fox.

One thing I will note here is that I framed the top and bottom of the door in this build, which I hadn’t done in the garden. I wanted the door to close firmly and not allow anything in our out of the run when it was shut.
The ground was uneven below the door, and I wanted to run hardware cloth beneath the ground along the entire perimeter, so I framed the bottom to be horizontal.
The roof has an overhang, which meant I had to frame the door a bit lower to avoid having it hit the roof as it opened.
With the basic frame built (I would add to it later on, which we’ll get to), I started digging the trench around the perimeter. This was the hardest part of the project — trying to dig at least a foot deep around the 32′ perimeter, with clay, rocks and roots, while keeping the frame in place.
For this job, I employed whatever I had — shovel, pickaxe, handsaw, pocket knife, etc. to get a clean trench that I could easily put set hardware cloth into.


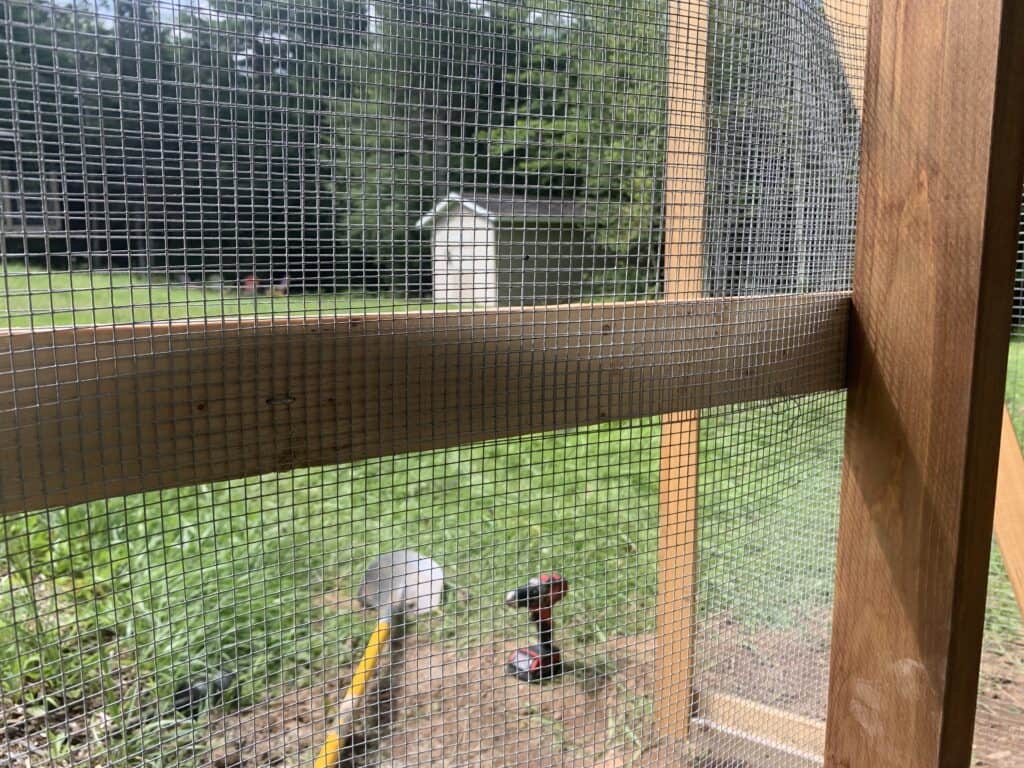
With the frame and trenches pretty well complete (I say “pretty well” because I would have to do some additional work), it was time to install the hardware cloth.
I went with a denser cloth for the bottom (1/4″) and a sparser cloth for the top (1/2″), partly to save cost and partly because the local shop didn’t have enough of the 1/4″.
Installing this stuff is fairly straightforward, but not necessarily easy. Once cut, it’s pretty sharp, so I was careful not to cut myself as I installed it. I did my best to have the “safer” ends meet at the door, as that’s where the most potential for injury (for both us and the chickens) would be.
I cut pieces with a bit of additional length to avoid any potential of coming up short (and to help cover the gaps between the run frame and the existing building.
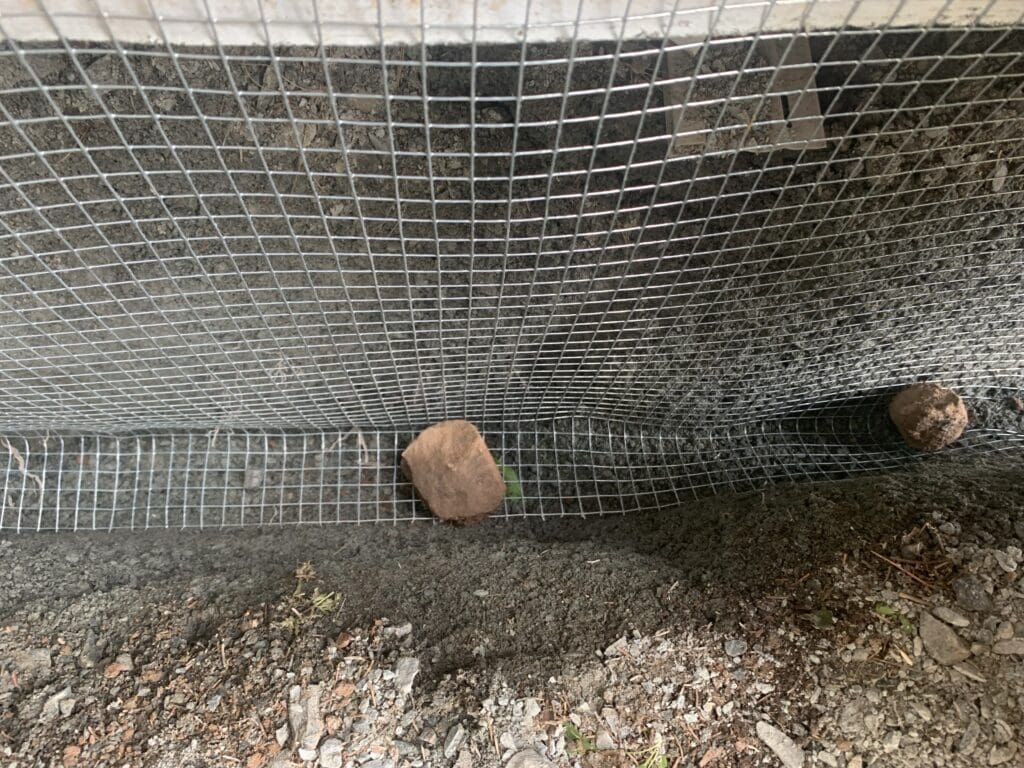
I positioned the cloth as deep as it would go into the trenches, stapled it loosely into place as I made my way around, and then followed up with many more staples to keep it in place. Of course, I did the bottom layer in three parts: the front wall from the workshed to the door, beneath the door, and the side and back of the run frame.

At this point, I noticed a gap between the workshed wall and the adjacent posts that were a bit bigger than what I would have liked. The cloth had pulled that side of the frame a bit, so I pushed it back and forced it into place with an additional 2×4 I had lying around, placed diagonally from the middle back post to the back post next to the exterior wall.
Once I felt good about the frame, I filled in the tranches with the same drainage stones/rocks/broken cinderblocks and gravel/soil:

I then removed the previous strapping and put it aside for once the top layer of hardware cloth was installed (so I could tie everything together and ensure no gaps in the fencing.
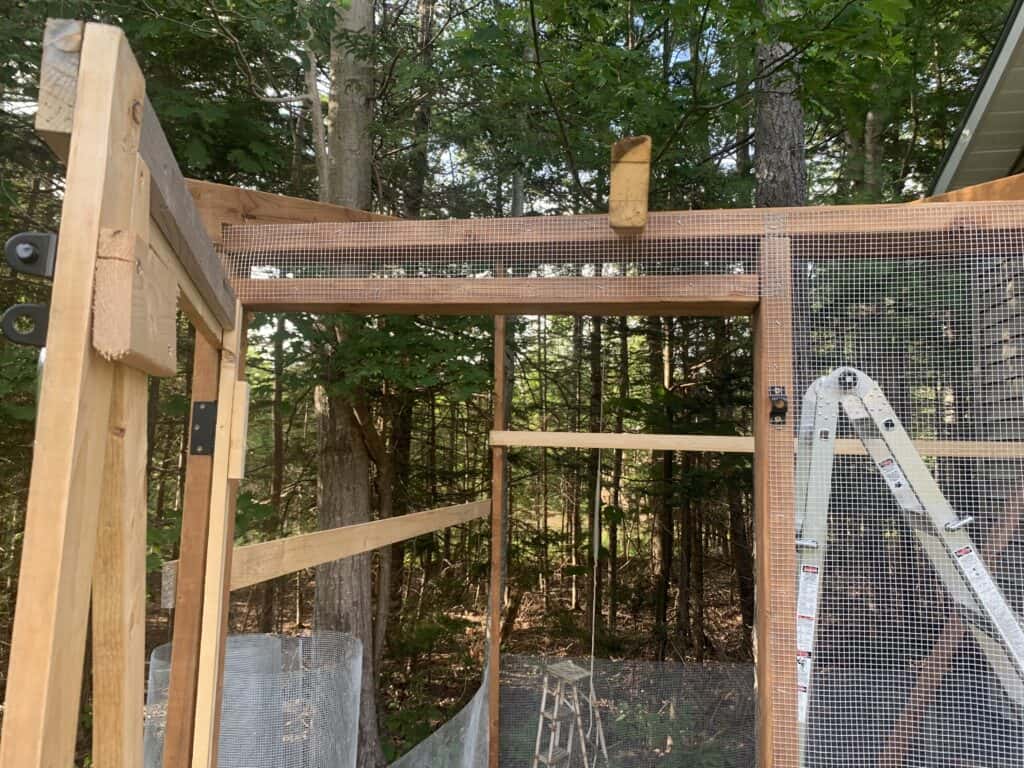
I then proceeded to install the top layer of hardware cloth, right up to the beams and cover the gable, which demanded one more 8′ span of strapping to tie everything together.
Here are some shots of this part of the process:

And of course, we had to install a little bell (near the top of the door) for good measure and to teach our chickens to come back when free-ranging.
After a few days, a good friend of mine was able to come down to cut and install a tin roof, which completed to the project. Here are a few shots of that process:
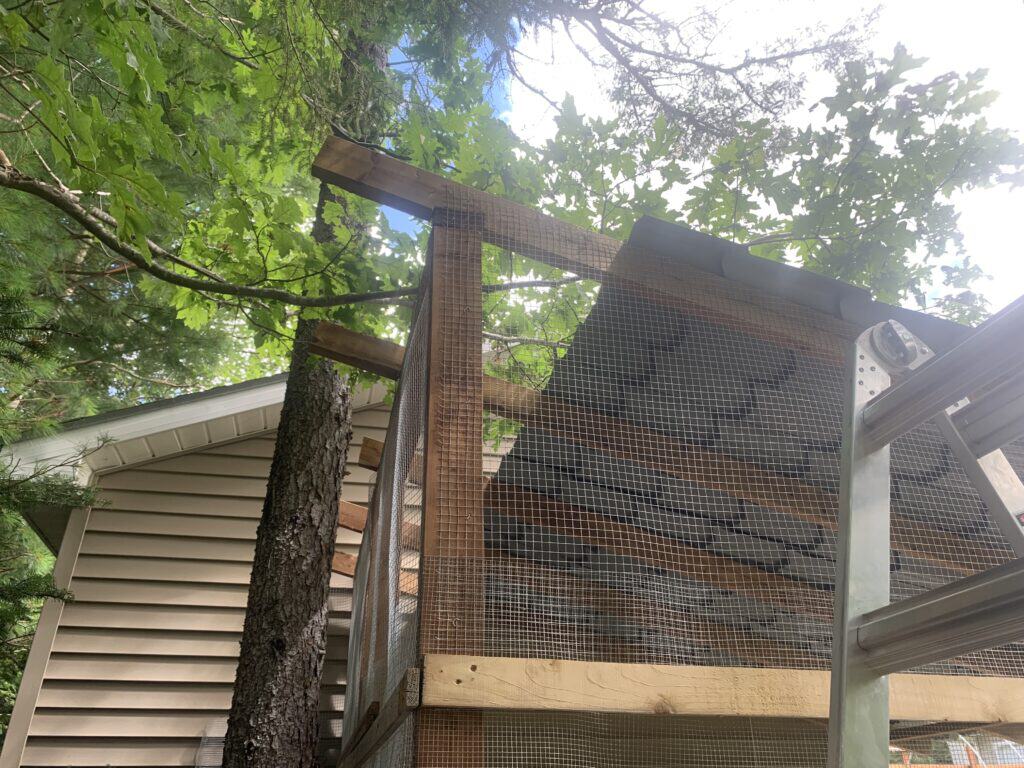

And finally, I added additional hardware cloth to cover any gaps between the beams and the tin roof, to ensure everything was closed off:


And there you have it — how I decided to build my chicken run. It’s held up for quite some time now, allowing our flock to spend time inside and outside safely, and to free range whenever we’re outside to keep an extra eye for predators.
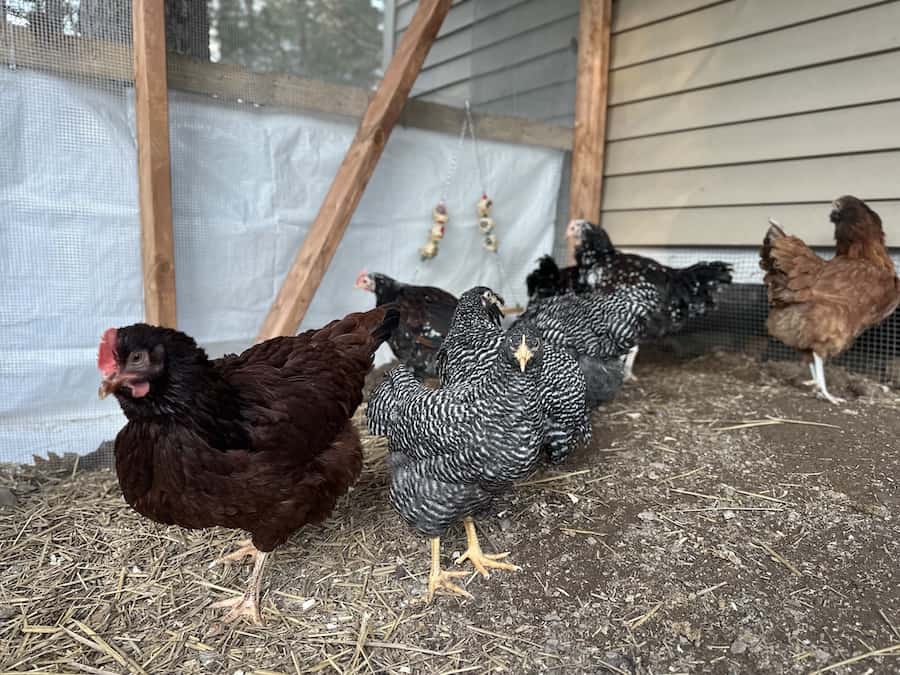
We regularly toss garden scraps and other treats into the run and will add straw for something to play and forage in. The automatic door we installed allows our birds to freely roam between their 8’x’11 coop and 8’x8′ run during daylight hours.
In the wintertime, we put a tarp up against the lower half of the run to prevent snow accumulation within the run and to protect the chickens from the wind.
And as a final “pro tip”, if you do decide to use uncoloured metal hardware cloth for your run, you might find it impossible to see through at a distance. We’ve found that painting it black can make it transparent!