How To Build Nesting Boxes For A Chicken Coop
Having nesting boxes in your coop is a great way to ensure that your hens have a safe and comfortable place to lay, and it reduces the chances of broken eggs! Not to mention, you can say goodbye to having to endlessly search your property to find where your hens might have laid. While there are plenty of pre-fabricated options on the market, it can be fun and fulfilling to build nesting boxes yourself.
How can I build my own nesting boxes for my chicken coop? The best way we’ve found to build chicken nesting boxes is to build a box out of plywood (12-15″ deep, 12-15″ tall and some multiplier of 12-15 wide) with no front and insert plywood walls to create “rooms”. Craft a stand so the boxes are above the ground but lower than the perch bars.
Of course, this answer requires more explanation, so in this article, we’ll discuss how we built our nesting boxes in greater detail with the hopes of inspiring and teaching you to do the same.
Disclaimer: This article includes affiliate links. If you click one of them, we may receive a small percentage of the sale at no extra cost to you. Thank you for your support!
Why Do Chickens Need Nesting Boxes?
Chickens do not necessarily need nesting boxes per se, though they are a worthy investment. Nesting boxes provide a safe and comfortable place for your hens to lay eggs. They are used to encourage hens to lay eggs within the boxes rather than on the ground, which can lead to broken eggs and, even worse, the hens eating their own eggs. Once this habit develops, it can be incredibly difficult to break.
They are also beneficial to you as you can easily collect the eggs from the nesting boxes rather than search around to see where your hens have laid and if the eggs are still intact.
How Many Nesting Boxes Do You Need?
The number of nesting boxes needed depends on the number of hens. As a general rule, one nesting box can be sufficient for four to five hens. However, many people choose to have multiple nesting boxes to avoid territorial issues. If your hen lays frequently and they are a larger breed, you may also want to have more nesting boxes. Whether you choose to go with one box per every four hens or add more, chances are your hens will pick their favourite box and always lay in that specific one.
We made four nesting boxes despite only having six hens. However, we plan to add more to the flock, so it was easier for us to make four right away than add more later. Although, the best part about building your own nesting boxes is that you can add more boxes as needed! We actually intend on building another row of boxes on top of our current ones eventually when we have a larger flock.
What Supplies Do You Need
As with any creative project, there are plenty of different ways to achieve your goals.
Note, again, that I built a single-unit structure with four nesting boxes. Each nesting box has interior dimensions of 12″ x 12″ x 12″ before bedding. The unit is braced and mounted against the wall (studs) and sits 9″ above the floor.
If you’ve made it this far into the article, I assume you’re interested in following my plans, so here’s what I used (I’ll add links to the supplies/tools I used). I’ll also comment on what I would use instead, having now completed the project.
- 1 – 1/2″ plywood 4′ x 8′
- 1 – 2×2 x 8′
- 1 – 1×4 x 4′
- Wood screws (I used #8 1 1/4″ and 2 1/2″)
- Power drill (with 1/8″ drill bit and appropriate driver bit)
- Table saw or circular saw (I wish I had a table saw for this project)
- Mitre saw
- Tape measure
- Right angle carpenter square
- I-Beam Level
- Pencil
Using two power drills (one with a drill bit for the pilot holes and another with a square head to drill in the screws) saved a lot of time and effort in this project. I also picked up a few square clamps but ultimately didn’t end up using them.
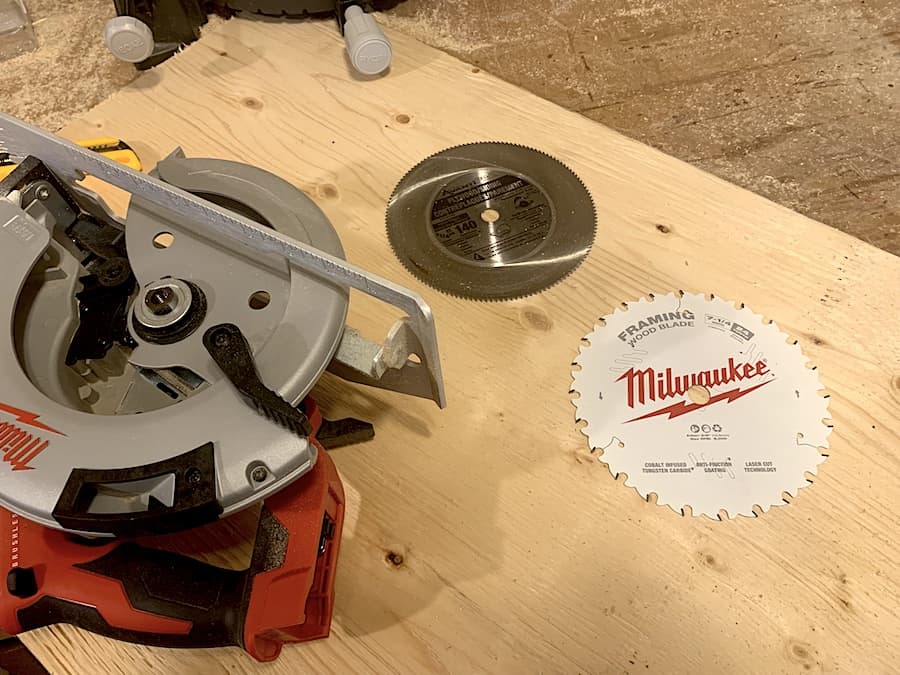
I started with a 140-tooth 7 1/4″ blade for my circular saw (rated for plywood) but quickly switched to a 24-tooth blade (rated for lumber) due to frequent kickback and jamming during ripping. A table saw would make for cleaner, straighter cuts, but the job can be done with a combination of patience, steady hands, and a circular saw.
How To Build Nesting Boxes
Alright, now for the fun part! As always, I like to plan out my designs on paper. However primitive the plans may be, as a way to keep me on track and thinking holistically about the project. You can see the basic outline I drew on paper in the photo below:

As you might be able to make out, the entire design is 4 feet wide (48″) with four distinct “rooms.” This width measurement was largely decided by the 4′ width 1/2″ plywood I got for the job.
With the simple blueprint laid out, I decided to make the majority of my cuts beforehand so that I could focus entirely on assembly when it came time to put the box together.
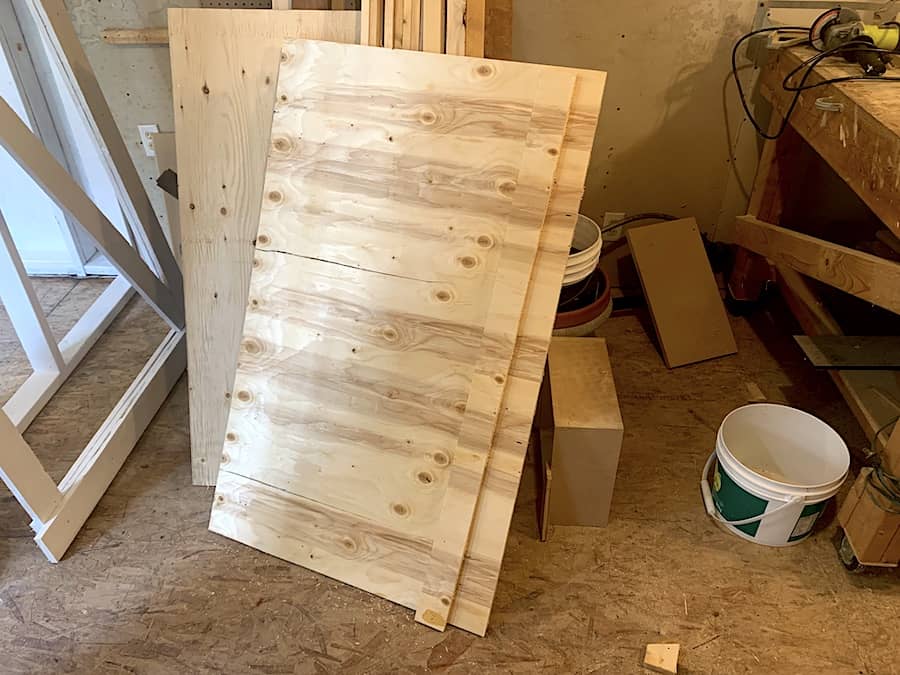
So I started by cutting the sheet into 4′ spans with varying widths. I cut the following:
- 3 – 12″ x 48 (one full cut for the back and 2 cuts for the ends, dividers and extra material)
- 1 – 12 1/2″ x 48″ (for the top and bottom — the backside is 1/2″ wide, so it sits in between the top and bottom)
- 1 – 3″ x 48″ (for the front plate that will allow the bedding to stay in place and keep any eggs from rolling out)
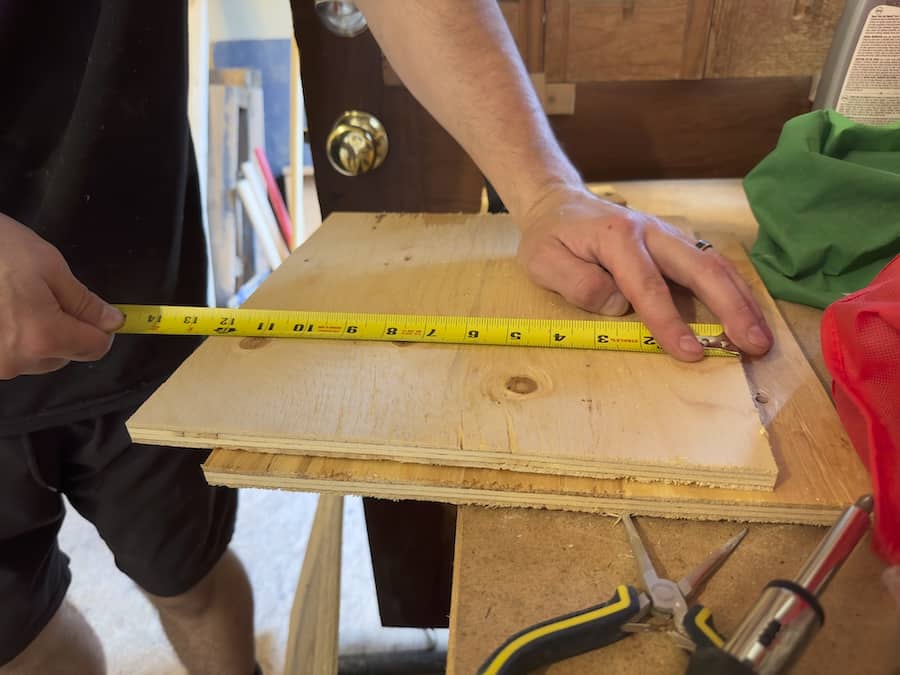
I actually found I did a decent job maintaining straight cuts with my circular saw. I did, however, end up with tops and bottoms at 12 3/4″ to almost 13″, so I adjusted my cuts for the dividers to be 12″ x 12 1/4 – 12 1/2″.
It’s always important to measure twice and cut once — it’s also important (to me, at least) to have some extra material around for mistakes, especially when you’re not using the ideal tools for the job. But I digress.
Once I had the pieces ready, it was time to assemble the nesting boxes. An important part I want to stress before getting into it is the importance of pilot holes when working with plywood. The thinness and makeup of plywood make it prone to splitting, and so drilling directly into it can lead to poor results.
In case you’re unfamiliar, a pilot hole is a small hole drilled into a piece of material that is used to guide or “pilot” a slightly larger screw into an exact position. It helps to ensure the screw fastens as intended, helping to enhance the aesthetics and avoid splitting and other issues.
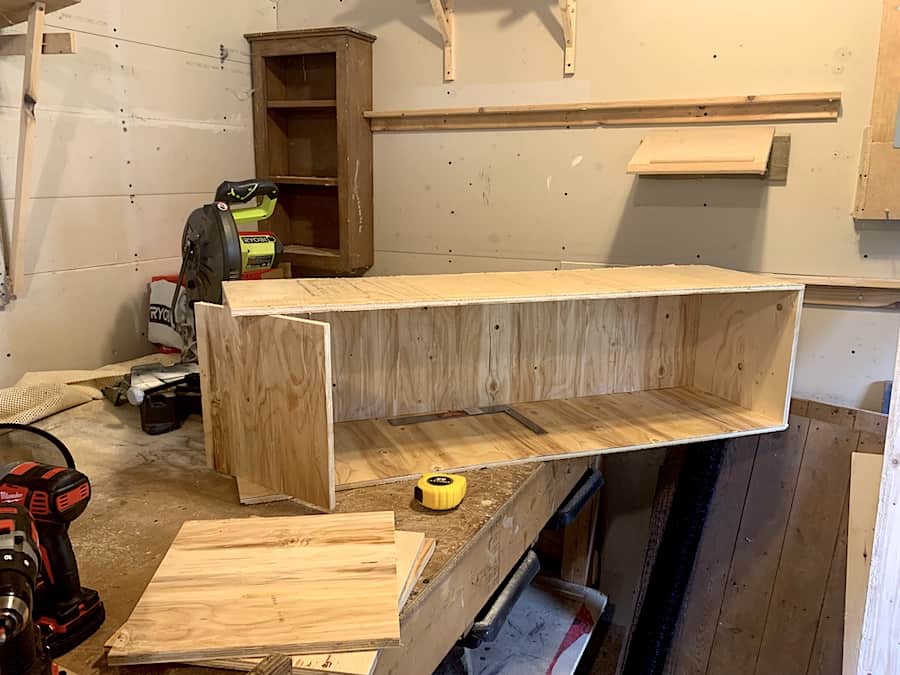
I ended up using #8 1 1/4″ screws and a 1/8″ drill bit for the pilot holes for this project. Using my workbench, I carefully connected the bottom piece to the back piece (with the back piece laying flat), followed by the top piece to the back piece.
From there, I set the first side piece (12 1/4″ x 12″) to the right side and shifted the unit in order to get right angles between the bottom/back and top/back before screwing the side piece in. I then did the same for the left side. You can see an in-between shot below:
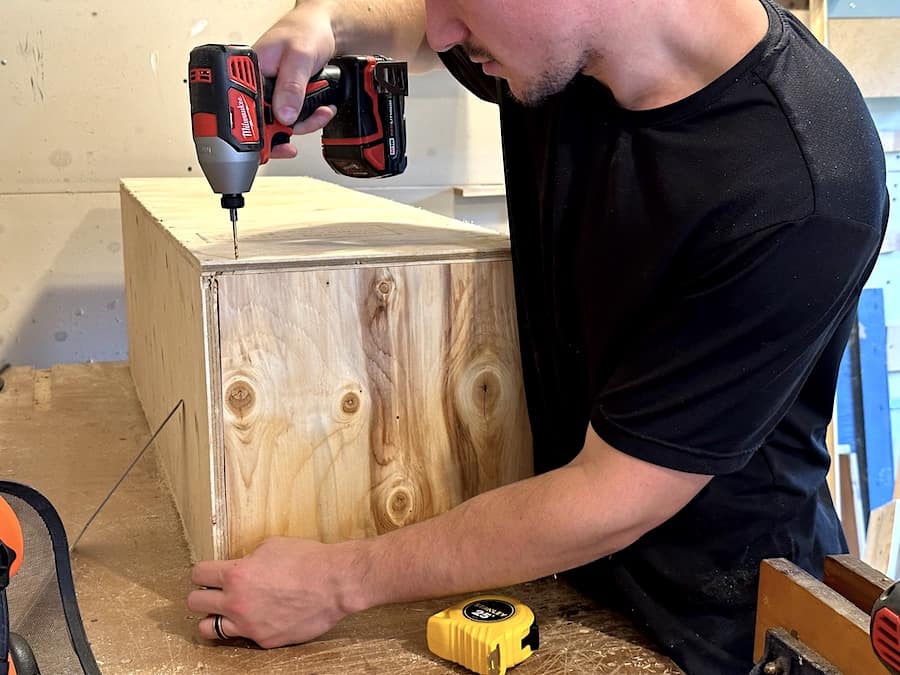
Here’s another shot, this time of my drilling a pilot hole through the top into the left side while holding the bottom to maintain a right angle.
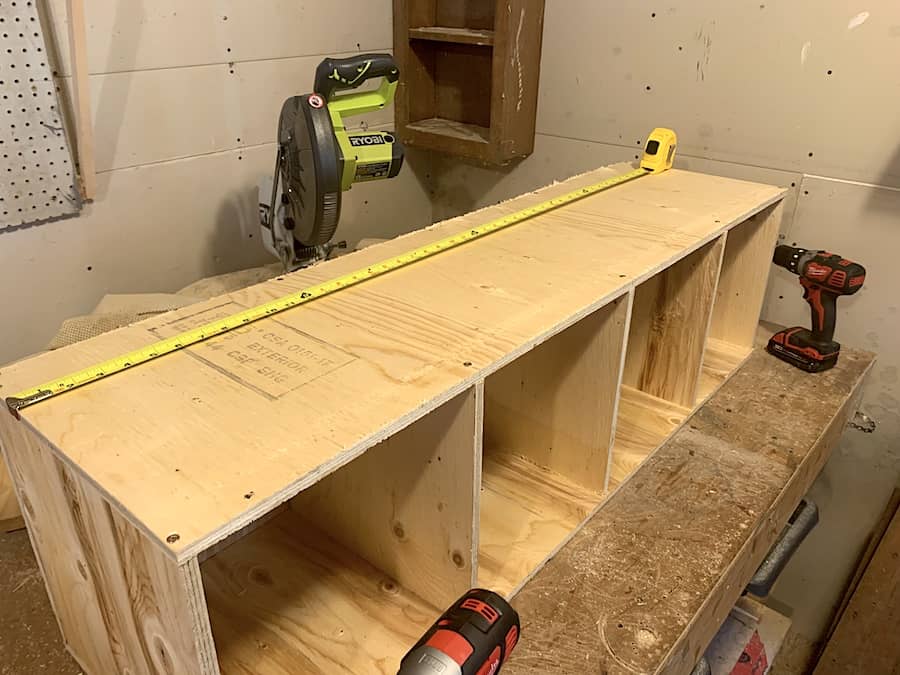
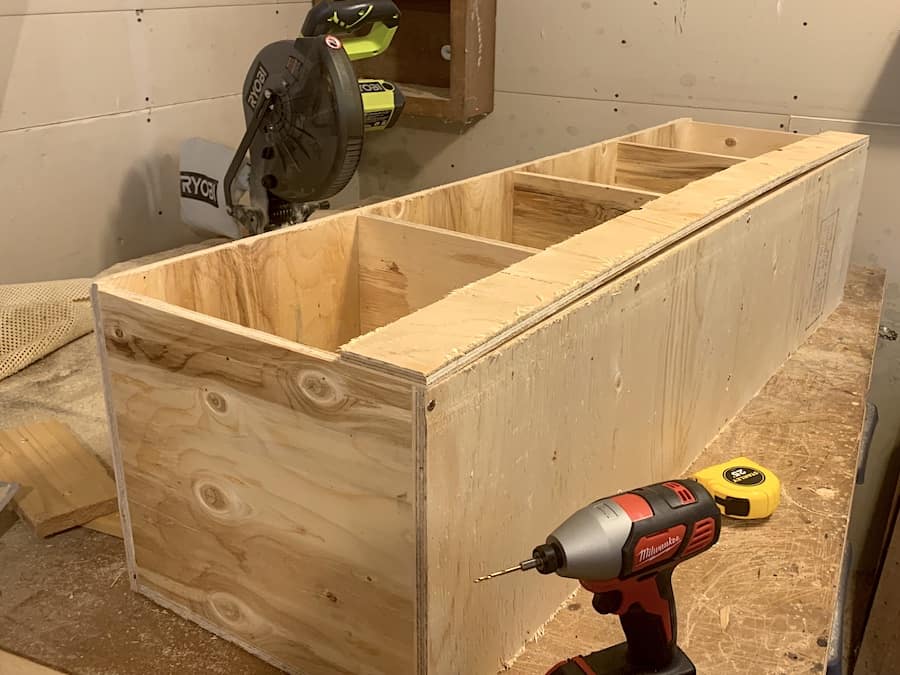
From there, I measured and marked 12″, 24″ and 36″ for my centre points for dividers. Alright, so that makes the interior width of the boxes slightly less than 12″ and the two end rooms slightly smaller, but I don’t think the chickens will notice!
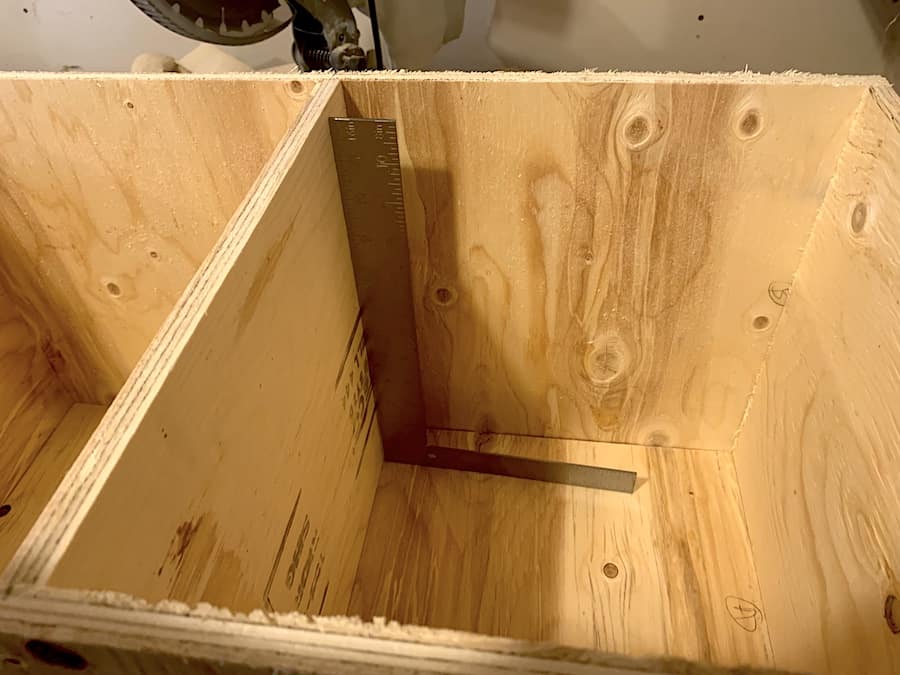
I then inserted the dividers into the box, centred them at the marks, and set each of them as straight and square as possible (using the carpenter’s right angle for help) before drilling a pilot hole through the bottom (near the front and the back) and screwing them in. I repeated the process with the top.
Notice I have one drill for the pilot holes and another for drilling in the screws. It made the job much more efficient.
From there, I just had to attach the small 3″ front plate. Notice in the picture that the plywood has a significant bend. The entire sheet was warped, making it tricky to cut and assemble. However, it plays nicely once it’s attached together with screws.
Once I wrapped up the assembly, I quickly sanded down the edges by hand to reduce the risk of splinters for the chicks (and eventual chickens).
With the “boxes” done, it was time to build the bracing that would keep the boxes off the ground. I wanted the bottoms of the nesting boxes 9″ off the ground (lower than the first roosting bar, which would be 18″ off the ground).
I wanted a relatively wide perch at the front to make it easy for the hens to get into and out of their boxes. I cut a 1×4 48″ long to act as the perch (which I may end up changing out if the hens tend to perch on it too often — though they should prefer the roosting bars).
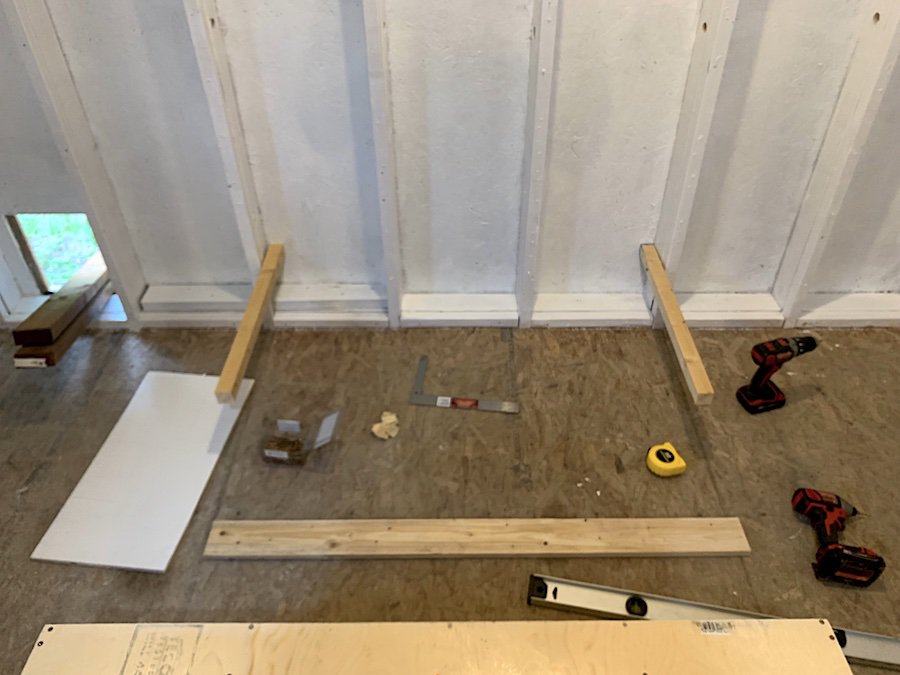
I decided to mount the boxes to the wall studs and have simple horizontal braces at either end with 45° triangle bracing that would connect at the floor/wall corner.
The boxes measure 48″ wide, so I planned to have the braces tied to the interiors of two studs separated by two studs (that’s a bit confusing, but you’ll see the picture momentarily). I would then centre the boxes on top of these braces.
The walls of the shed we had converted had both 2×4 studs and additional 2x2s to bring the distance between the inside plywood and the inside “stud” to 5″. With the box depth equaling 13″, and my wanting space between the box and the perch, I decided to cut my horizontal 2×2 braces at 25 1/4″ each with my mitre saw.
I screwed each horizontal brace into its proper stud, ensuring the tops of both braces were level with each other, roughly 9″ above the floor (the floor isn’t perfectly flat). Since the lumber of the studs twists, and there’s an additional 2×2 on each stud, I had to shim between the brace and the studs to help make a right angle against the interior wall. Of course, things aren’t perfect — we’re building a chicken coop, after all, and not fine cabinetry.
Once the horizontal braces were aligned and tied in properly, I set my mitre saw to cut at 45° and cut more 2×2 to fit underneath and form a triangle with the horizontal brace. If my Pythagorean theorem is correct, the long side of the under-brace is about 12 3/4″. I positioned one end of these braces against the corner of the floor and the bottom of the wall framing and the other end at the horizontal bracing and screwed them in place.
I then sat the boxes on top of the brace against the wall and aligned the box to be in the centre with the bracing. The bracing held them up perfectly. I then screwed the boxes into the two middle studs through the back and into the horizontal bracing through the bottom.
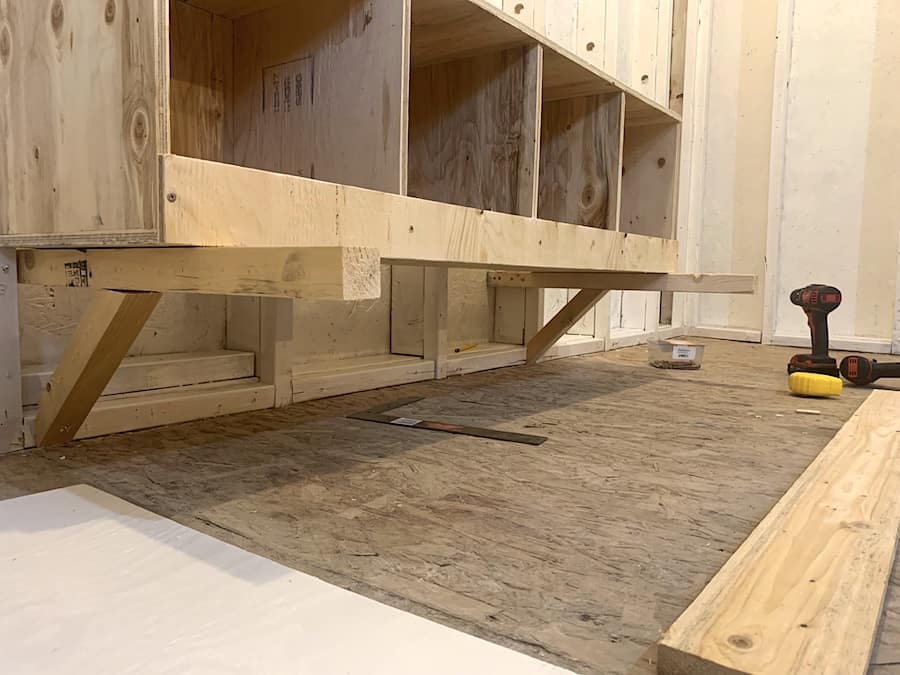
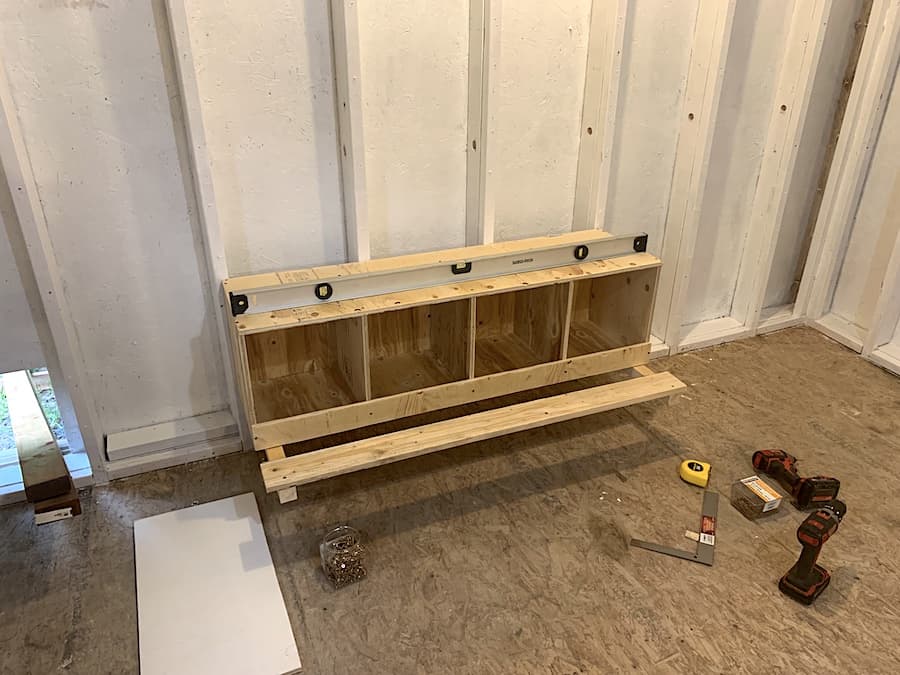
The last thing to do was to install the perch, which I centred at the edges of the horizontal braces and screwed into place.
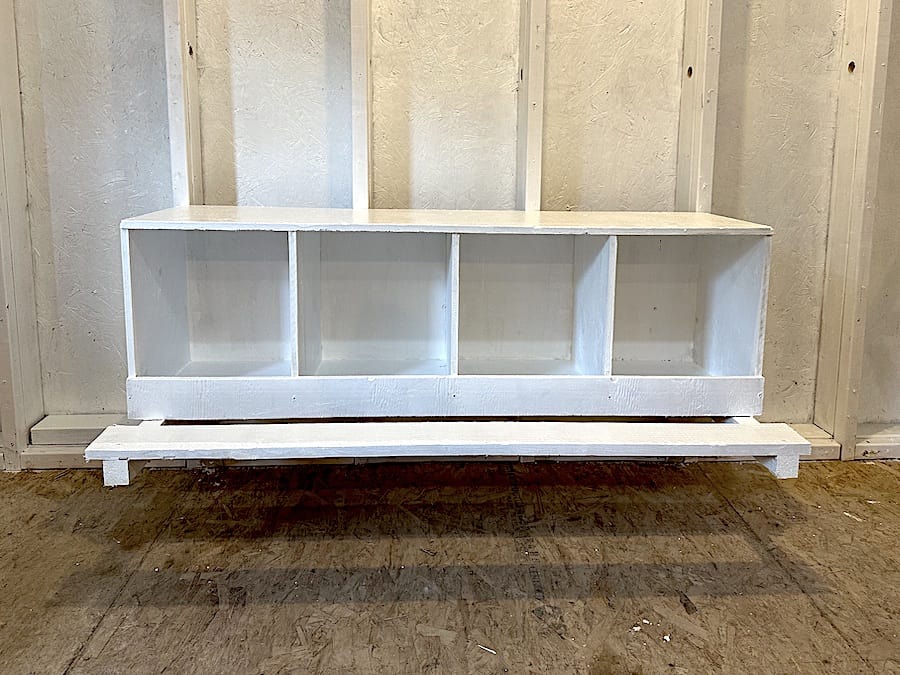
Here’s a look at the final construction:
Finally, Julia painted the boxes white to match the rest of the coop (with zero-VOC paint, of course). The final product can be seen below:
And that’s how we went about building our chicken nesting boxes. Of course, you could make yours as simple or complicated as you’d like.
For example, we could, at some point, cut holes through the backs of the boxes and through the exterior wall to make it easy to grab eggs from outside. However, we opted not to because of the cold weather and draft and because we don’t think it’s a big deal to walk into our relatively large coop to grab eggs from the front of the nesting boxes.
Additionally, If we ever want to double-up on our boxes, it would be relatively easy to duplicate the design (with a few bracing modifications — or maybe no additional bracing) and add the extra boxes above those already built.
I hope this design proves useful and inspiring to you. Best of luck building your own nesting boxes!