How To Turn A Shed Into A Chicken Coop
Converting a garden or unused shed into a chicken coop can be a fulfilling and budget-friendly project for homesteaders. In this comprehensive guide, we will share our step-by-step experience, providing valuable insights and practical tips to help you transform a neglected space into a comfortable haven for your feathered friends.
Disclaimer: This article includes affiliate links. If you click one of them, we may receive a small percentage of the sale at no extra cost to you. Thank you for your support!
Deconstructing The Garden Shed
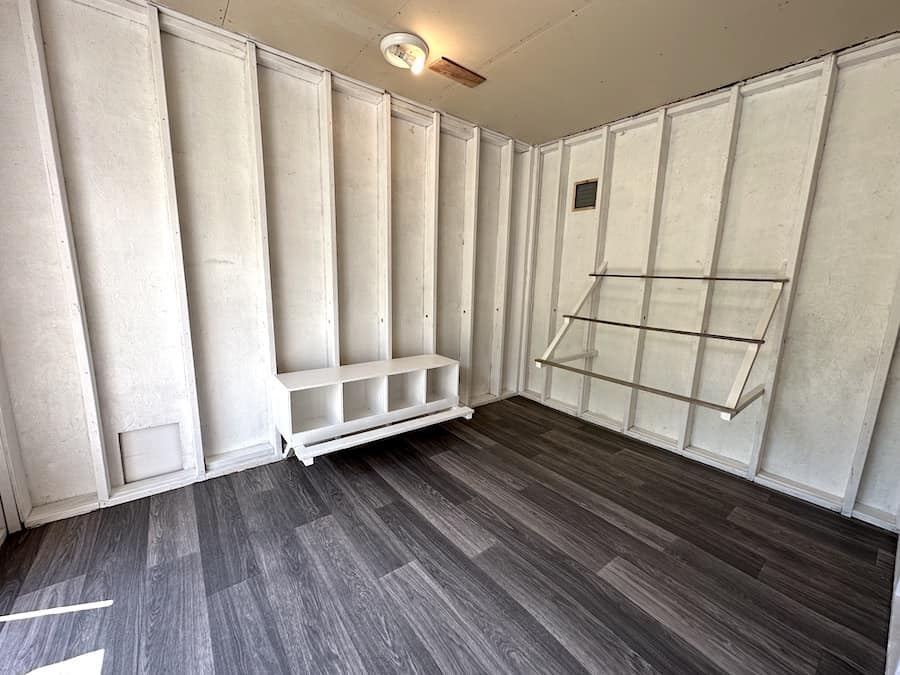
Rather than buy a prefab chicken coop, we decided to turn one of our garden sheds into a chicken coop so we could have a larger space and slowly get more chickens without restrictions or later having to upgrade the coop. We were not using the space to its fullest potential and had to do some work in it already, such as adding vents for proper ventilation (you’ll notice in some of the before photos mould from too much moisture and no vents before we installed them). It felt like the perfect home for our growing chicks!
To build the coop, we first had to devise a plan on what we needed to do and how we would do it in time. We mapped out an idea of where we wanted the coop and how big it should be, and then we began to deconstruct.
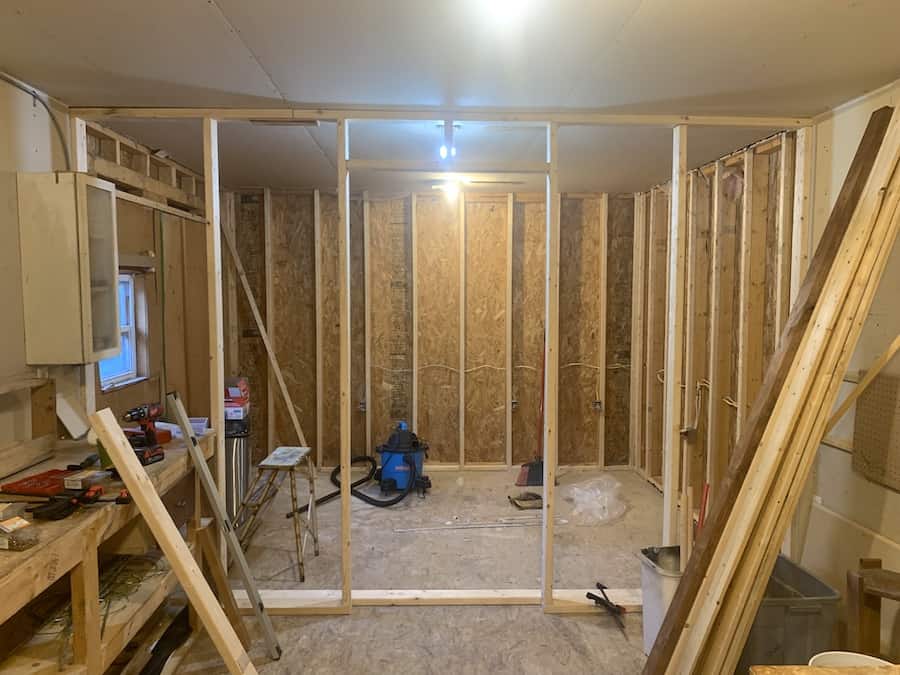
The first step was removing all the drywall and insulation in the coop area to see what we were working with and to ensure there was no hidden damage behind the walls. Chickens are notorious for pecking at everything, including drywall. All it takes is one small hole in the drywall, and they will start to peck and eat at the drywall, vapour barrier and even insulation, which is not safe for them. This is why you do not see many coops with drywall in them.
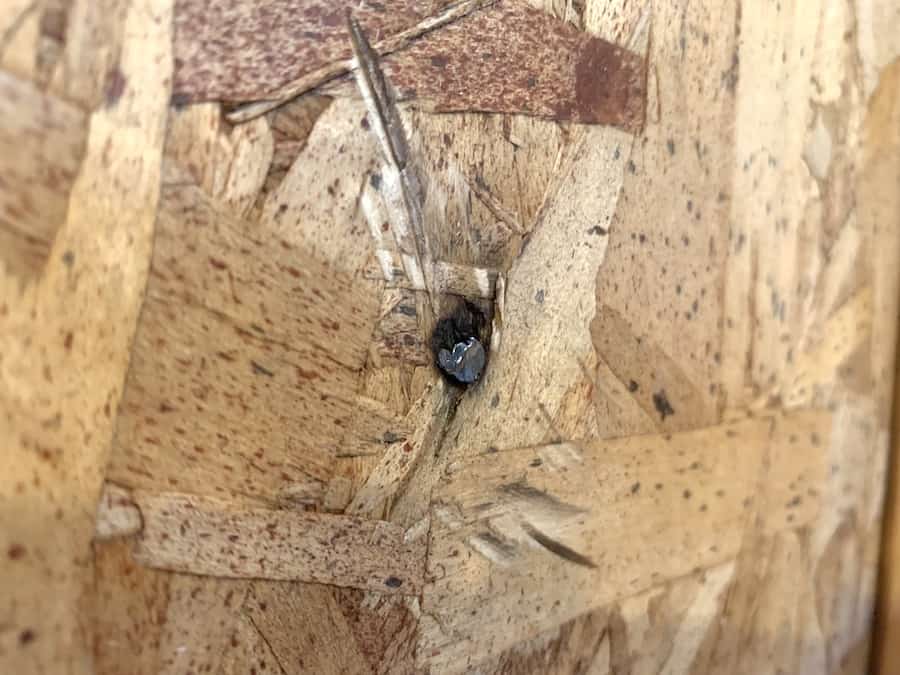
Once we removed the drywall and insulation, we were happy to see no water or other damage to the walls. However, we ran into something that we did not anticipate: long, sharp nail points everywhere. Of course, we knew the siding was nailed into the walls, but we did not realize the nails used were quite long and to make the coop safe for our chickens, we’d have to grind down all the nails.
Arthur spent a few days doing this as it was not the most pleasant job due to the smoke and smell produced by grinding down the nails. He used a Ryobi 7.5 Amp 4.5 in. Corded Angle Grinder to grind down the nearly 100 nails to the interior of the plywood.
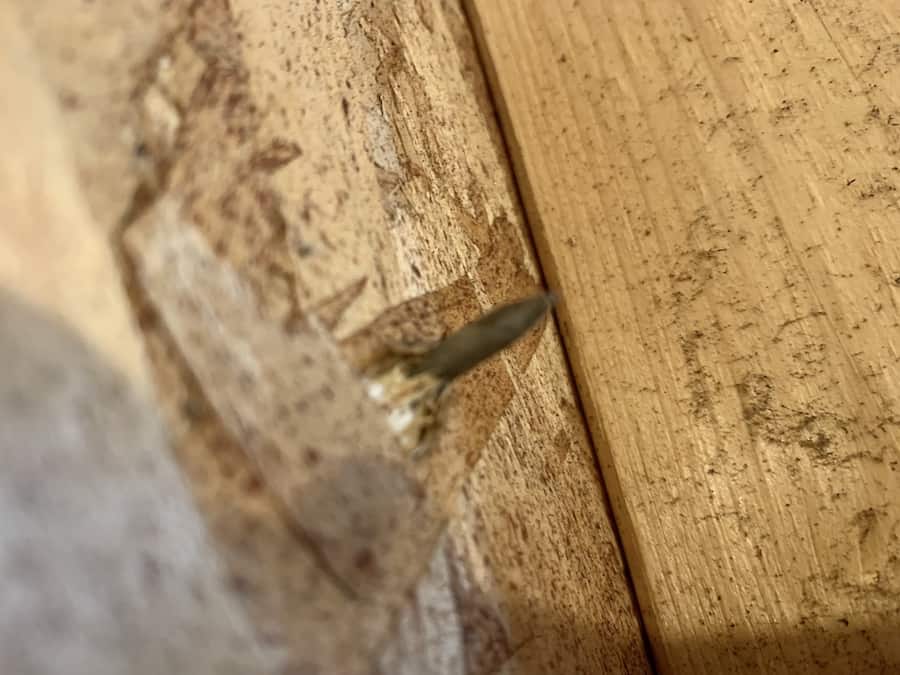
It’s important to keep the area as well-ventilated as possible, to wear appropriate safety gear (long-sleeve shirt, safety glasses and face mask) and to take regular breaks to avoid prolonged exposure to the fumes that were once solid steel.
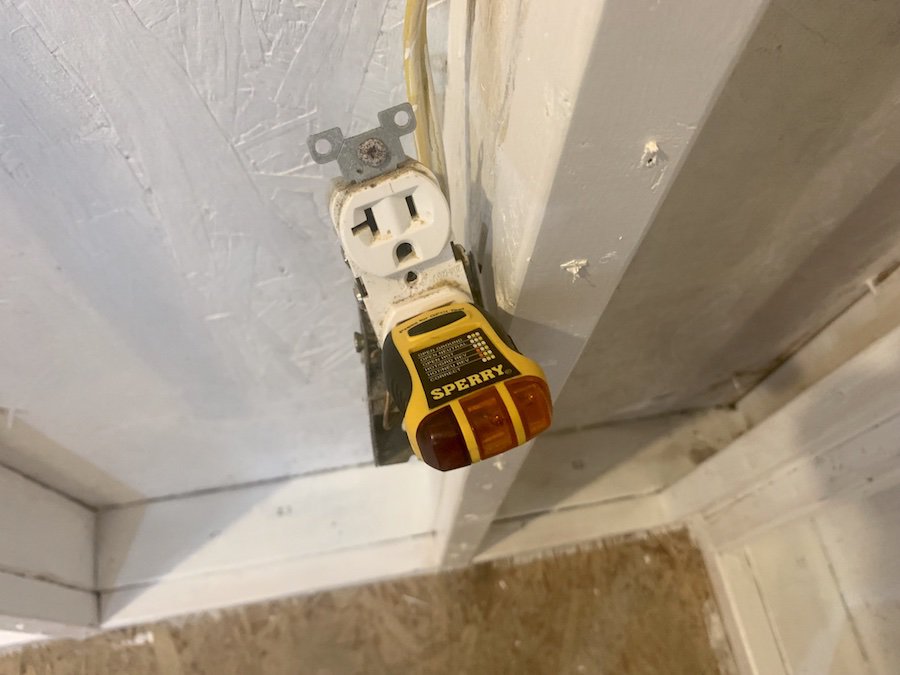
The next phase of “deconstruction” was to remove any electrical wires and receptacles within the coop. We considered leaving one or two receptacles by moving them above where the chicken could reach them, but we decided against the relocations for reasons of safety. Since we had an abundance of outlets in proximity to the chicken coop, it wasn’t necessary for us to leave any within it.
Of course, the first order of business here was to shut off the power to the outlets. We used a simple receptacle tester to ensure no electricity was reaching any of the receptacles and then proceeded to remove their front plates, disconnect the receptacles, unmount the junction boxes, and run the lines back through the holes in the original studs.
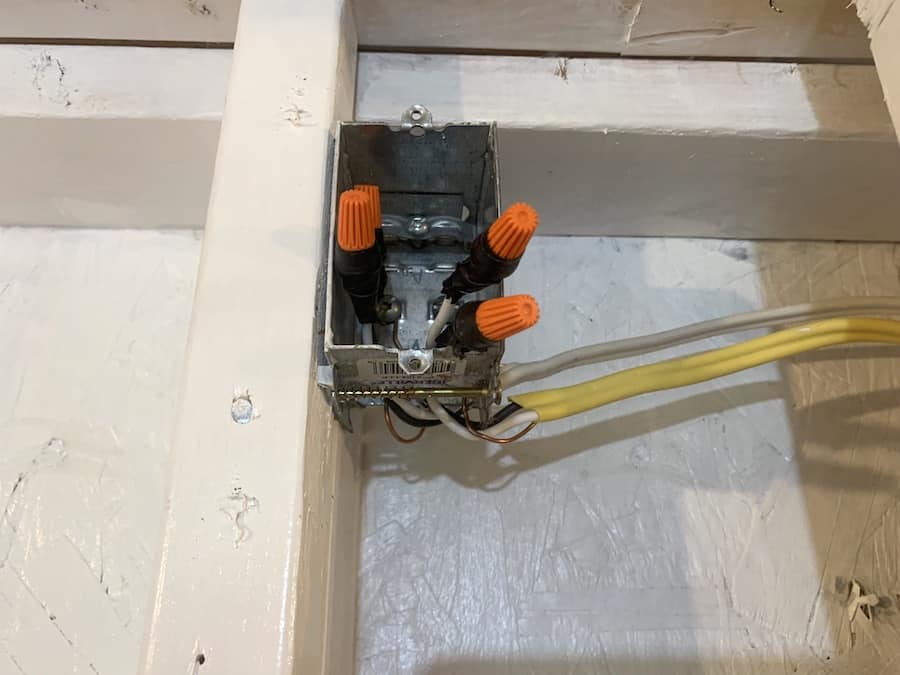
Luckily, there were shorter connecting cables between the previously installed boxes, so we didn’t have to cut any wire and weren’t left with bulk at the end. We simply ran the wires back to the last box in line that we were keeping (outside the coop) and stopped there.
Interior Framing & Chicken Wire
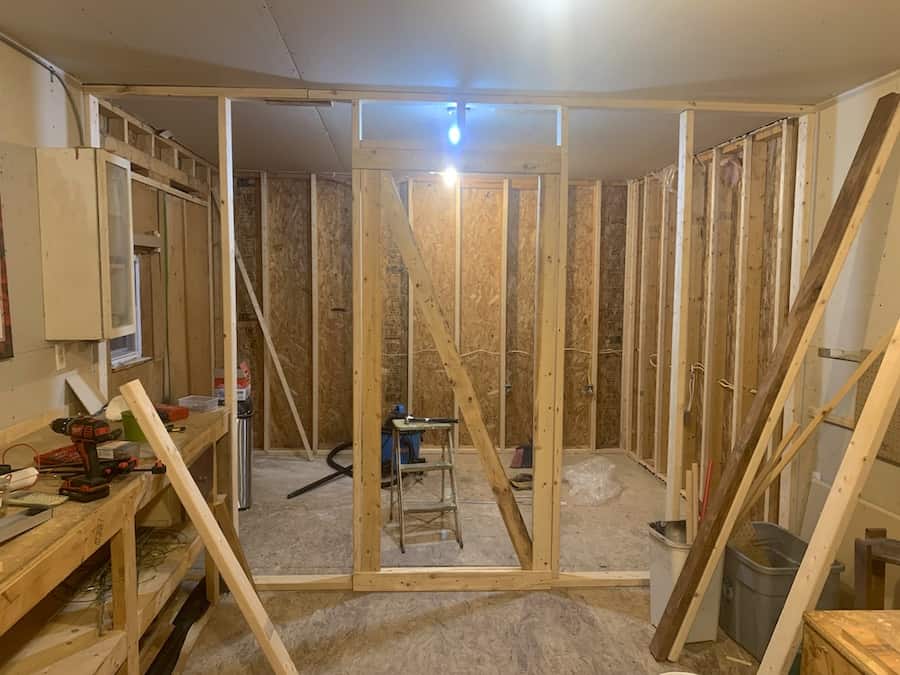
Next, Arthur framed an interior wall for the chicken coop section of the shed. He carefully cut the vertical edge of the drywall to have the new frame sit against the exterior frame and got started.
This was done entirely with 2×4 with vertical posts spaced 24″ apart and the interior of the doorframe measuring 35″ interior-to-interior (that’s how the spacing lined up within the depth of the shed).
The tops and bottoms were cut first, as the verticals would all fit between them. The bottom of the frame has an empty spot for the door to reach the floor of the shed, being made of two pieces. The top spans the entire length and also had to be built with two pieces (an 8′ span plus the difference to reach the entire length) with a piece of 1X4 to tie the two pieces together.
The bottom was set first, with an additional 2×4 laid next to the two pieces to help line them up. Then, the first top piece was put in place and propped up by the first two studs of the frame.
After a few tries with nails, the shifting of the pieces was too much, and he switched to screws, which are much easier to use.
Slowly but surely, each stud 2×4 was secured into place, and the frame was coming together.
Next, he attached the top of the door frame at 84″ from the floor and cut a centre stud between the top of the door frame and the wall frame for good measure.
Once framed, it was time to build the door to fit within the 35″x 84″ doorframe.
All our non-solid doors are built with the same principle: to transfer the load from the top corner opposite the hinges down to the bottom corner at the hinges. It’s a simple concept that helps maintain the structural integrity of the door over time.
This one, in particular, is fairly heavy-duty. It’s built almost entirely from 1x4s, with 3ply at the top and bottom, 3ply on the hinged vertical (for securing the hinges and the diagonal brace of the door) and 2ply on the opening vertical.
Two hinges were installed on the righthand side (walking into the coop), and a latch on the lefthand side. The door swings open away from the coop.
Once the interior wall was entirely framed and the aforementioned electrical lines were removed, we covered up the interior corners of the coop with plywood to keep the chickens from getting into those nooks. It was virtually impossible to grind down the nails, and the spaced would be difficult to clean — best to board them up altogether!
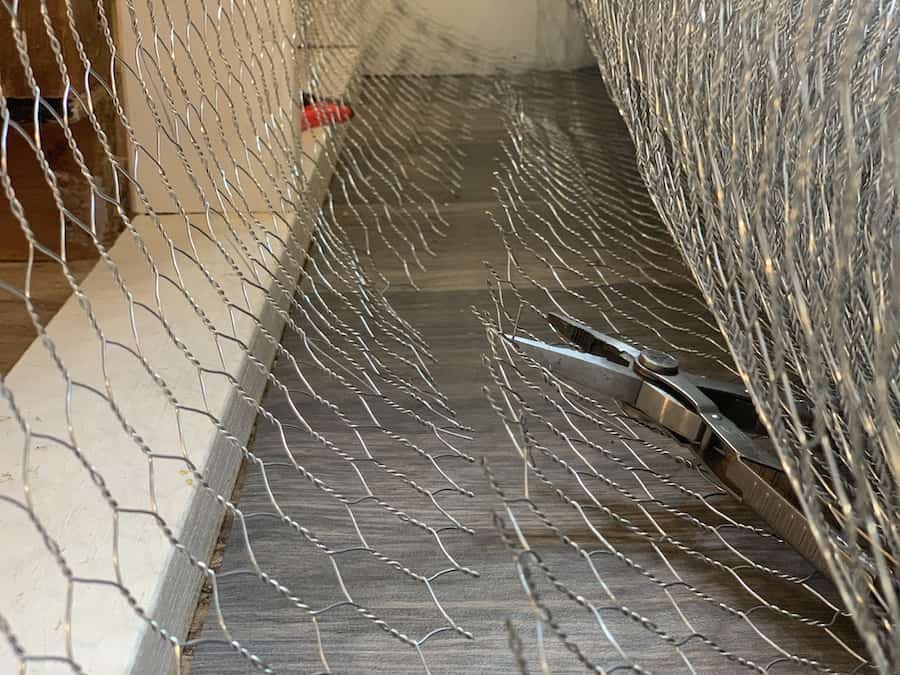
Then, it was time to install the chicken wire to actually complete the wall. We bought a 4′ x 50′ roll of 1″ 20-gauge galvanized steel poultry netting.
Remember the 24″-spaced vertical posts for the wall frame? It’s all coming together. We highly recommend not cutting the mesh where you don’t have to, as even the cleanest cuts can yield sharp ends. The netting comes with its length (the top and bottom of the 4′ span) nicely tied, but any cuts will expose the sharp wire.
The sides were easy, as we had 4′ to either side of the door. The door required some cutting down from the 4′, and we recommend having the smooth side to the opening/swinging vertical if possible.
We cut the netting with the wire cutter portion of our pliers and held it in place by driving fencing staples.

Finally, since there was sharp netting at the bottom of the frame and the chickens would be kicking shavings outside the coop perimeter, we installed 14″ tall plywood (that happened to be the height that worked best with what we had left) across the bottom length of the wall to keep the chickens safe and the rest of the shed “clean”.
Now that the chicken coop frame was completed, it was time to paint! We decided to paint the walls with Behr Zero VOC paint. Now, you do not need to paint your coop! This was a personal preference, and we knew once the chickens were in there, we’d never be able to paint it. So, may as well do it before we bring them in!
How To Install Gable Vents In A Chicken Coop
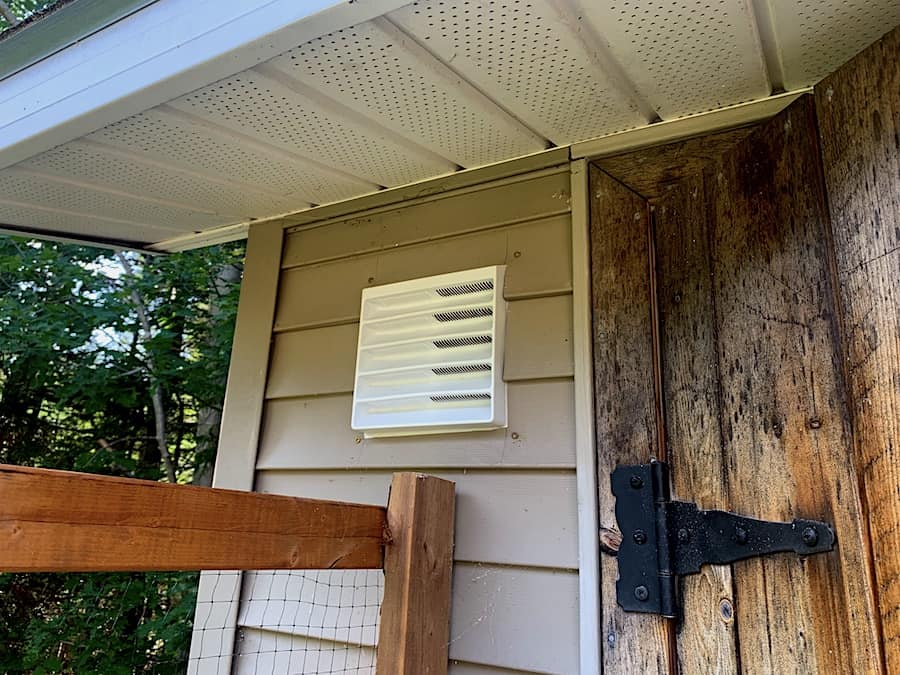
If the coop lacks proper ventilation, the simplest solution is to install vents. Cut two holes in the walls of the coop, ideally on opposite sides, to fit gable vents. Then, install the vents and seal them in place with caulk around the vents and vapour barrier. This will ensure that your coop has adequate ventilation.
If necessary, add bug netting to keep insects out. Some vents will already come with this. However, the only vents at our local hardware store did not. Luckily, we had some leftover window screen mesh from a previous window framing project that we were able to use.
To learn step by step how to put in ventilation, including all the tools needed, check out the full article “How To Add Ventilation To A Chicken Coop”
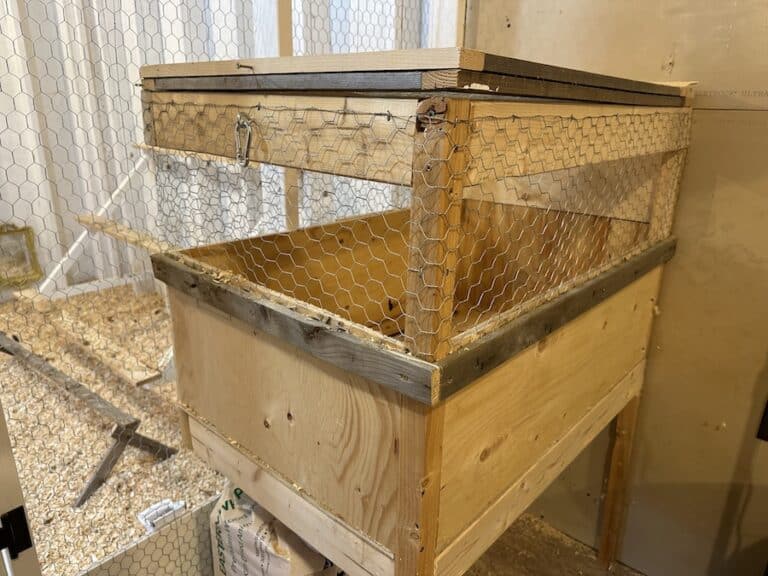
How To Build Nesting Boxes
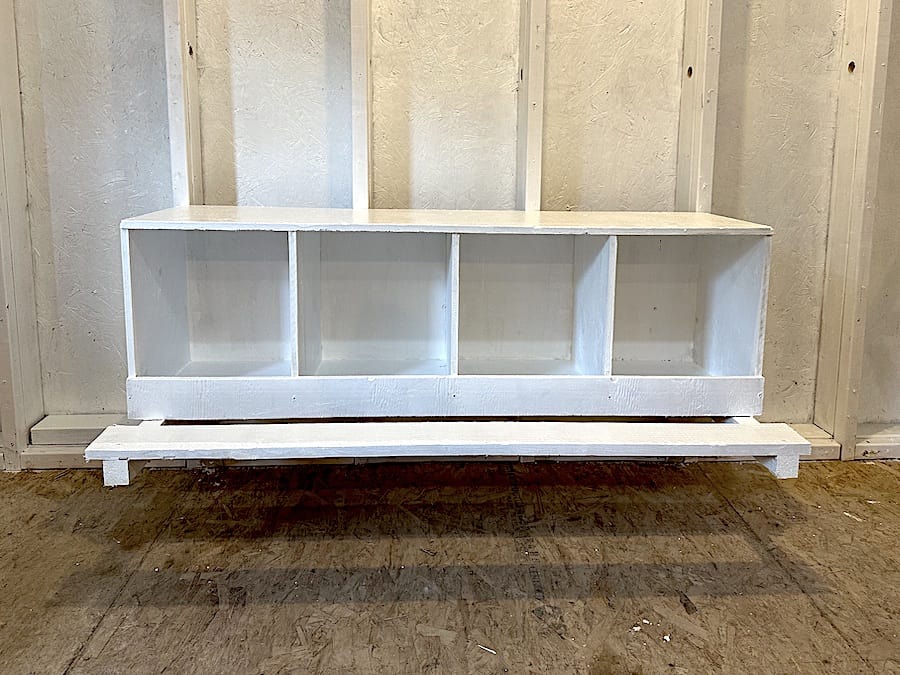
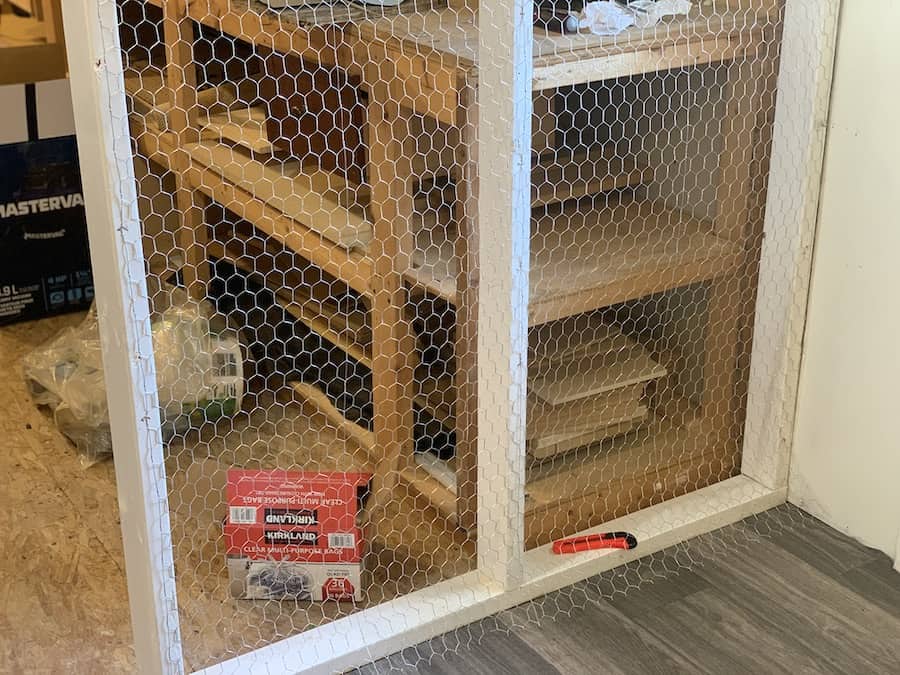
To build our nesting boxes, we first started by constructing a box out of plywood (12-15″ deep, 12-15″ tall and some multiplier of 12-15 wide) with no front and inserting plywood walls to create “rooms”. Craft a stand so the boxes are above the ground but lower than the perch bars. Then, attach a perch to the front to make it easy for the hens to enter and exit the nesting boxes.
Now, with this style of nesting box, you will have to enter the coop to collect them, as there is no external collection option. However, since our coop is a walk-in, this is not an issue for us! But is something you should consider before building your own.
After setting up the nesting boxes, we actually nailed a board overtop of the entrance so the hens would be unable to access them until they were ready to lay. This helps to prevent them from getting into the habit of sleeping and defecating in the boxes. Once our hens start laying, we will remove the board and put in nesting pads to cushion the eggs and minimize breakage.
To learn step by step how to build these nesting boxes, including all the tools needed, check out the full article “How To Build Nesting Boxes For A Chicken Coop”
How To Put In A Chicken Door

To put in a chicken door, we first cut a rectangular hole in the wall (9-12″ wide by 10-14″ high) between two studs. We then cut a plywood door piece to be larger than your hole (2″ to either side and taller) and build a slotting system on the wall’s exterior for the door to slide into. To make the door easier to open and close, we created a pulley system.
We did recently purchase a Run Chicken automatic door that we will be installing shortly with a tutorial and review. This upgrade was something we wanted from the beginning, but due to budget restraints, we chose to build our own coop door instead.
There is nothing wrong with the DIY door, but for convenience’s sake, the automatic door will be great so the hens will be let out every day at the same time (it also means we get to sleep in some days)!
To learn step by step how to build a chicken door, including all the tools needed, check out the full article “How To Install A Hingeless Chicken Door In A Coop”
How To Build Roosting Bars
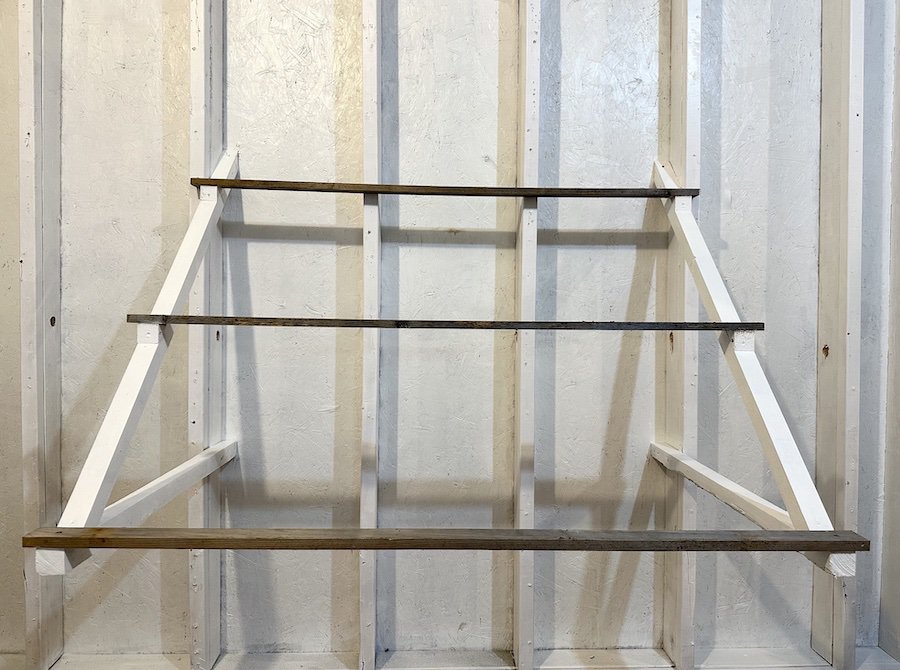
We decided to build our own roosting bars out of some lumber we had lying around. We found the best way to build roosting bars inside the coop is to mount two triangular supports to the inner coop walls and tie small horizontal beams or dowels across. I give at least 8″ of length per chicken with a few extra “spots” for perching. Ensure the bars are positioned away from drafts.
Once the roosting bar was up, we painted some sections of it (this was just our personal preference; you do not need to paint the roost) and dusted the bars with diatomaceous earth (DE) to help keep ammonia and pests at bay. We reapply the DE on the roost and around the coop every time we clean it.
To learn step by step how to build roosting bars, including all the tools needed, check out the full article “How To Build Roosting Bars In A Chicken Coop”
Adding A Floor To Your Chicken Coop
Our shed has a plywood floor, which is suitable for a chicken coop floor. However, we decided to add linoleum flooring on top of it to make cleaning easier. While the linoleum flooring may not last indefinitely and may need eventual replacement due to wear and tear, we would prefer to replace it rather than the actual plywood floor of our shed.
When picking out flooring for your coop (should you choose to add one on top of your current floor), it is important to avoid vinyl flooring. While it may have better water resistance, vinyl is toxic to chickens as it is made from synthetic materials and should not be used.
Instead, opt for something with more natural components, such as Linoleum. It is made from organic materials such as linseed oil, wood flour, and tree resin. You can find linoleum sheet flooring at almost any local hardware store.
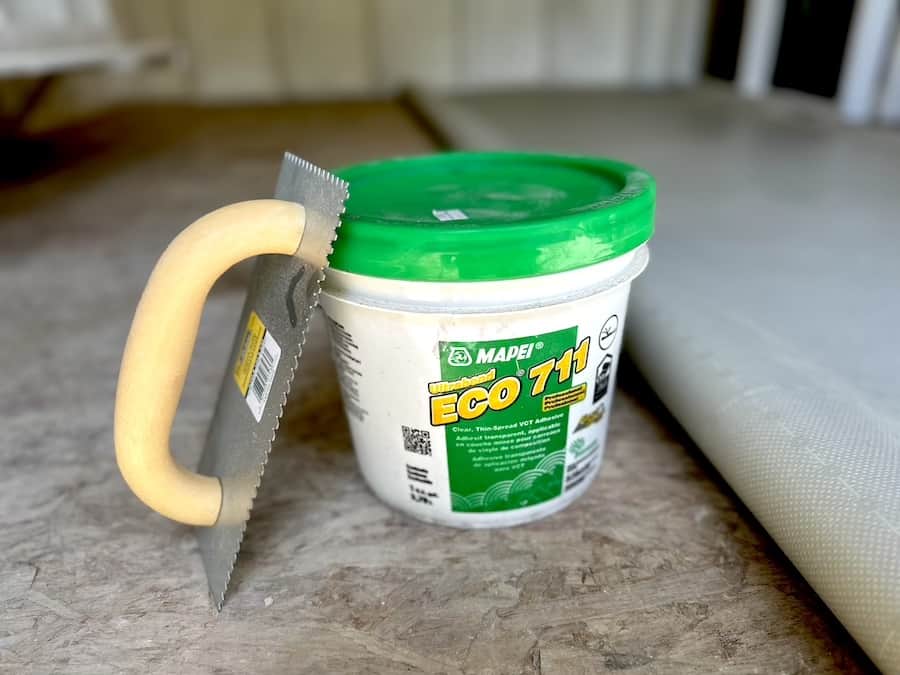
For our coop, we were not too concerned about getting anything fancy, so we checked out the clearance section and, to our surprise, found a beautiful floor on clearance. Next, we picked up a floor adhesive (which is arguably the worst part about putting in linoleum flooring). We used Ultrabond Eco 711 (pictured below) and a square notch.
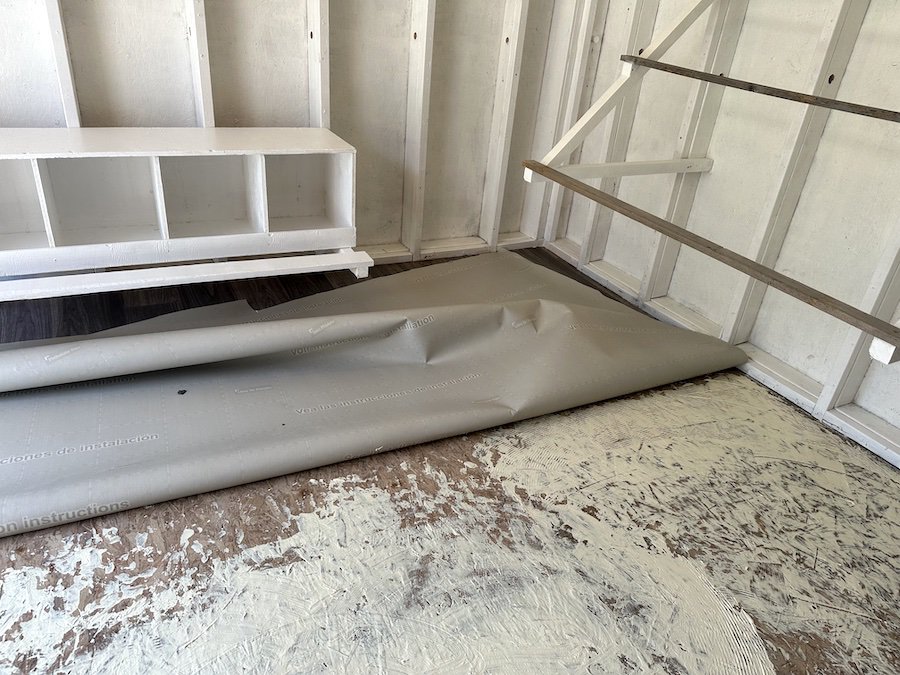
To install the flooring, we began by rolling out the sheet roll evenly across the floor. Next, we carefully trimmed the edges of the flooring to fit the exact size of the room using an exacto knife. Once the flooring was cut to size, we folded one half of the floor (see photo below for reference) and started to adhere one side of the floor at a time.
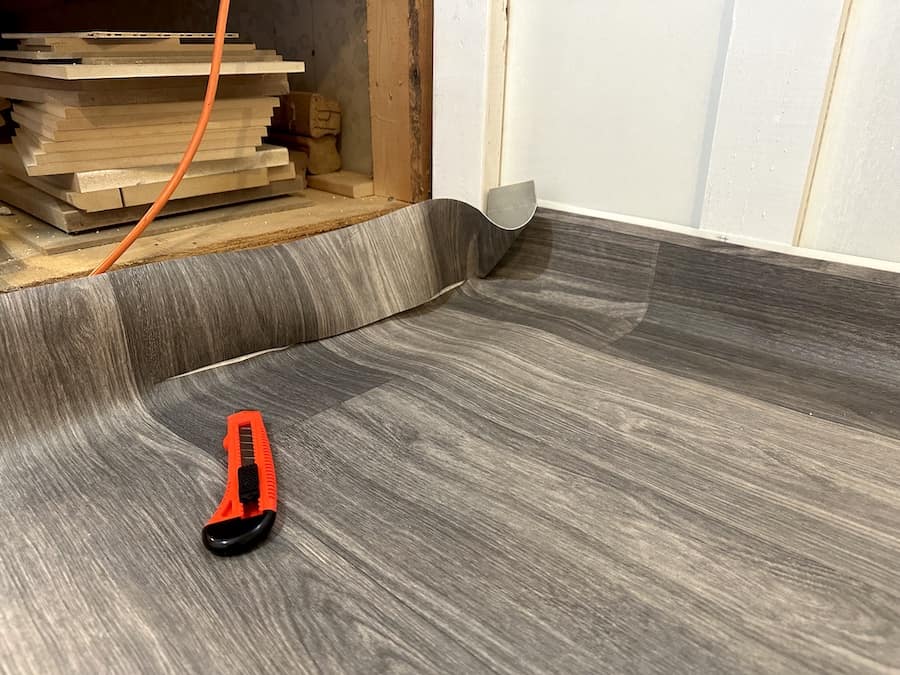
Once we covered one side of the coop with adhesive, we folded the flooring back over and began to press it down, making sure to leave no air bubbles. Then, we did the same thing on the other side.
Honestly, the flooring turned out better than expected and was relatively easy to install. I must say, this is the nicest the coop will ever look, and while it looks a bit extra for chickens, the floor will make it easier for us to deep clean the coop.
The instructions advised us to refrain from stepping or placing anything on the floor for a few days to allow the adhesive and floor to dry in place.
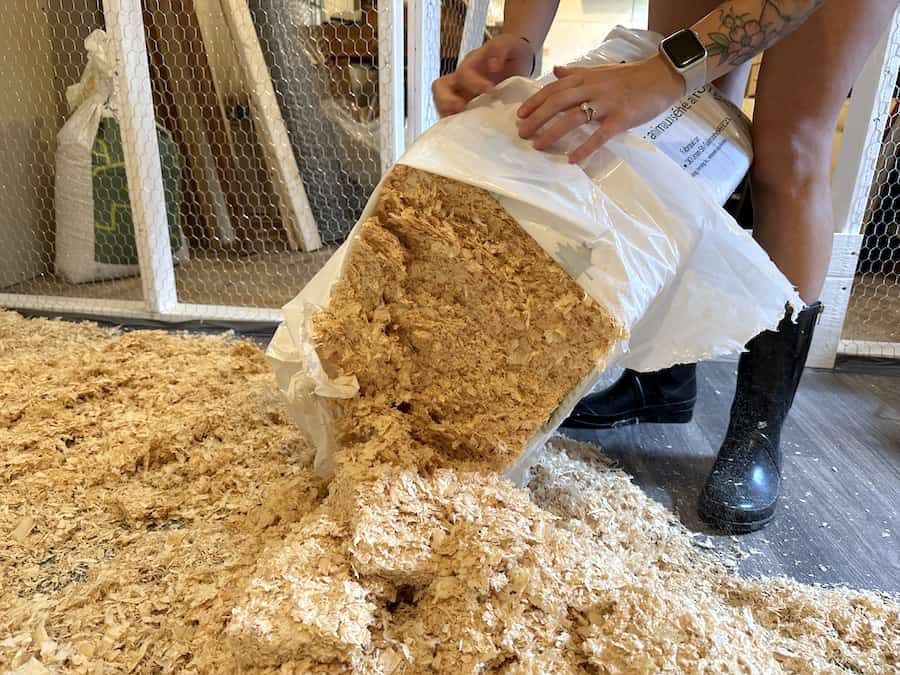
After waiting for two days, we returned to the coop and began adding woodchips and completing the remaining tasks to prepare the coop for our hens to move in.
Adding The Final Touches To Your Chicken Coop
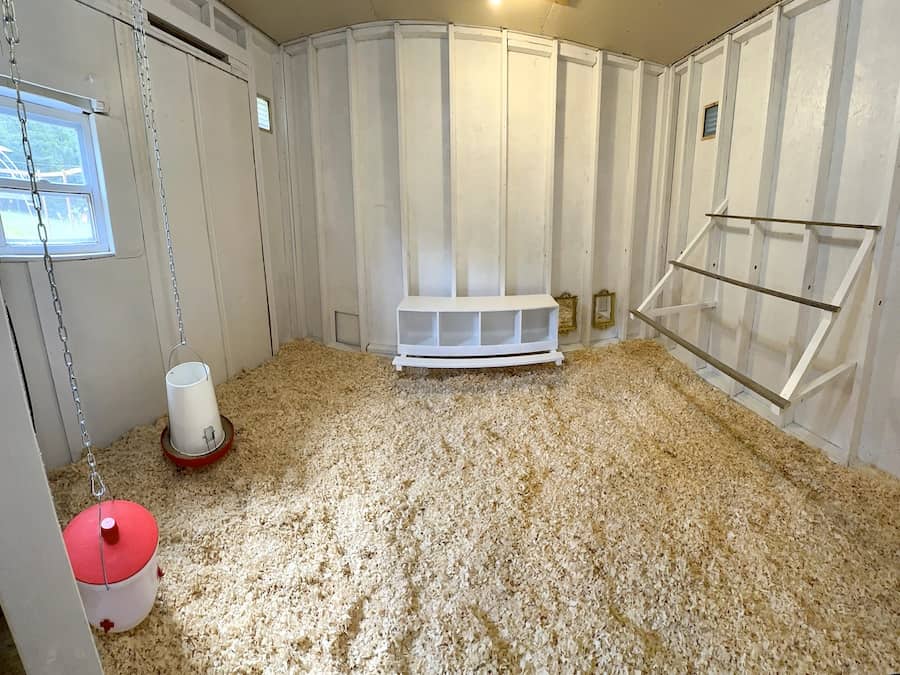
Now it is time to finalize your coop and make it hen-ready! For us, that meant putting in the bedding, adding the feeders and waterers and a few mirrors for entertainment.
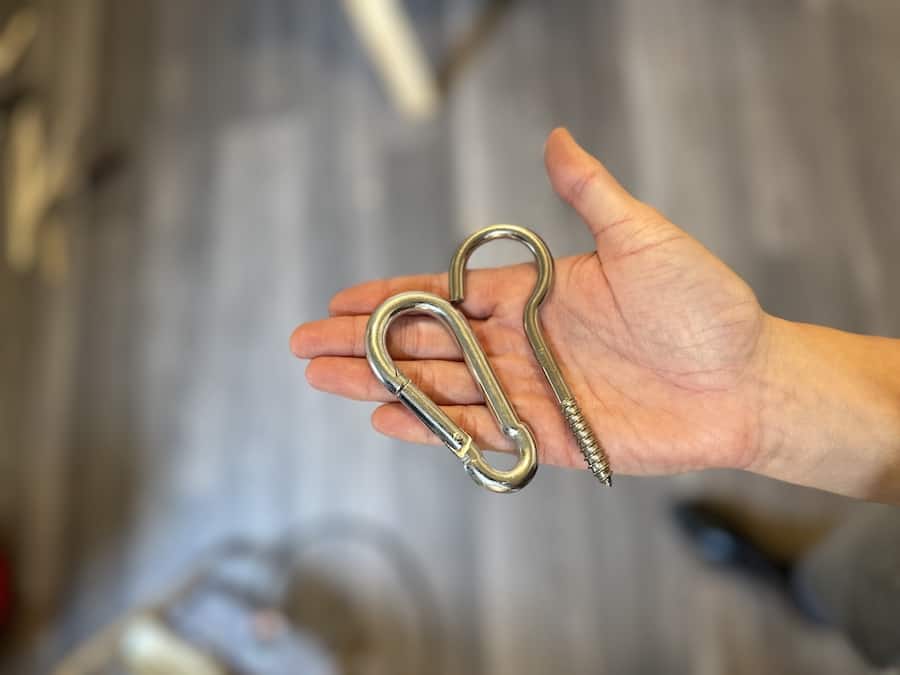
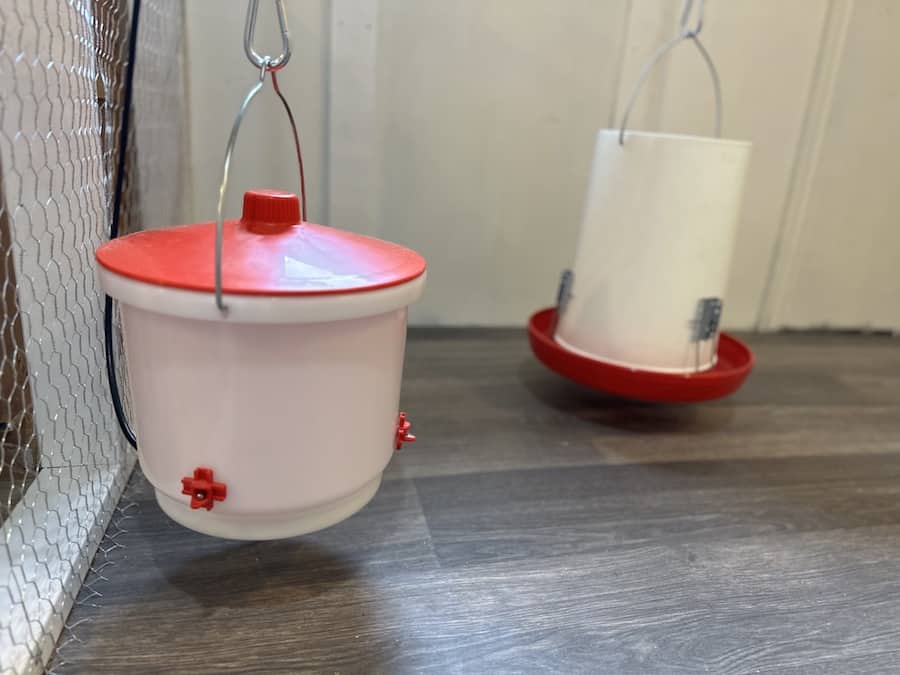
As for the feeder and waterer, we hung both up using a carabiner, an eyehook and a chain. First, we pre-drilled a hole in the ceiling. Then, screwed in the eyehook. Once this was in place, we attached the chain to the eyehook. At the end of the chain, we attached the feeder to the chain using a carabiner. We repeated the same process for the waterer.
The waterer we decided to use is a heated poultry drinker. While you do not need a heated waterer, it is perfect for us as we live in Canada, and our winters tend to get cold. This type of waterer helps to prevent the water from freezing.
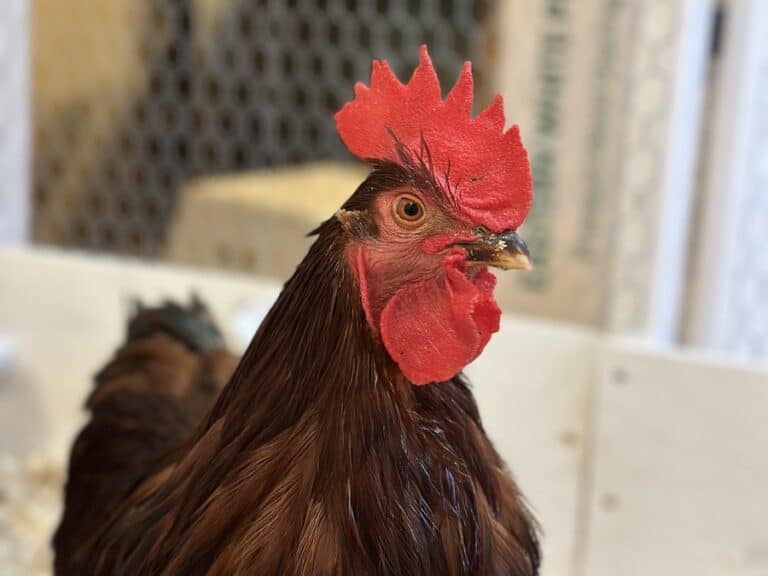
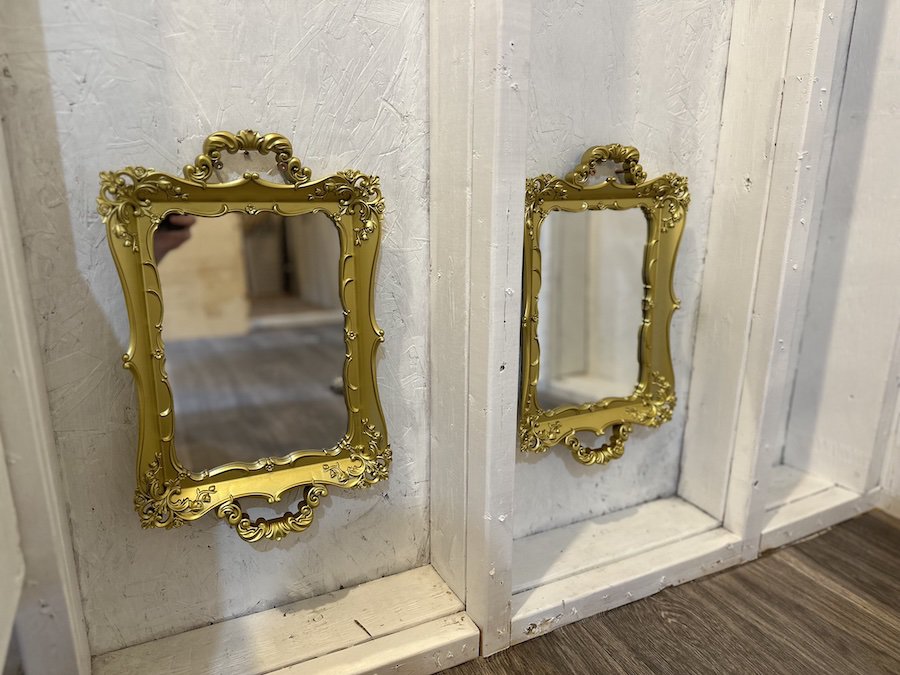
The mirrors are just something fun we added in to keep the chickens entertained. They love looking at themselves! In fact, one of our hens, in particular, is almost always staring at herself in the mirror whenever we go into the coop. These are just random mirror trays we found at our local dollar store that we put up on the wall with a screw.
Lastly, we added the bedding. We opted for pine bedding as it can be easier to work with. It’s highly absorbent- keeping the coop drier, chickens love scratching and dust bathing in it, and acts as a great insulator during the colder months. Whichever bedding you choose will depend on what’s accessible to you, your hen’s needs and personal preference.
To learn more about the different types of bedding, check out our article “Best Bedding For Chicken Coops”
Here is the final result!
We hope this article helps you turn your shed into a chicken coop or along the process of building your own chicken coop!